Text Offset options when non-centered text required
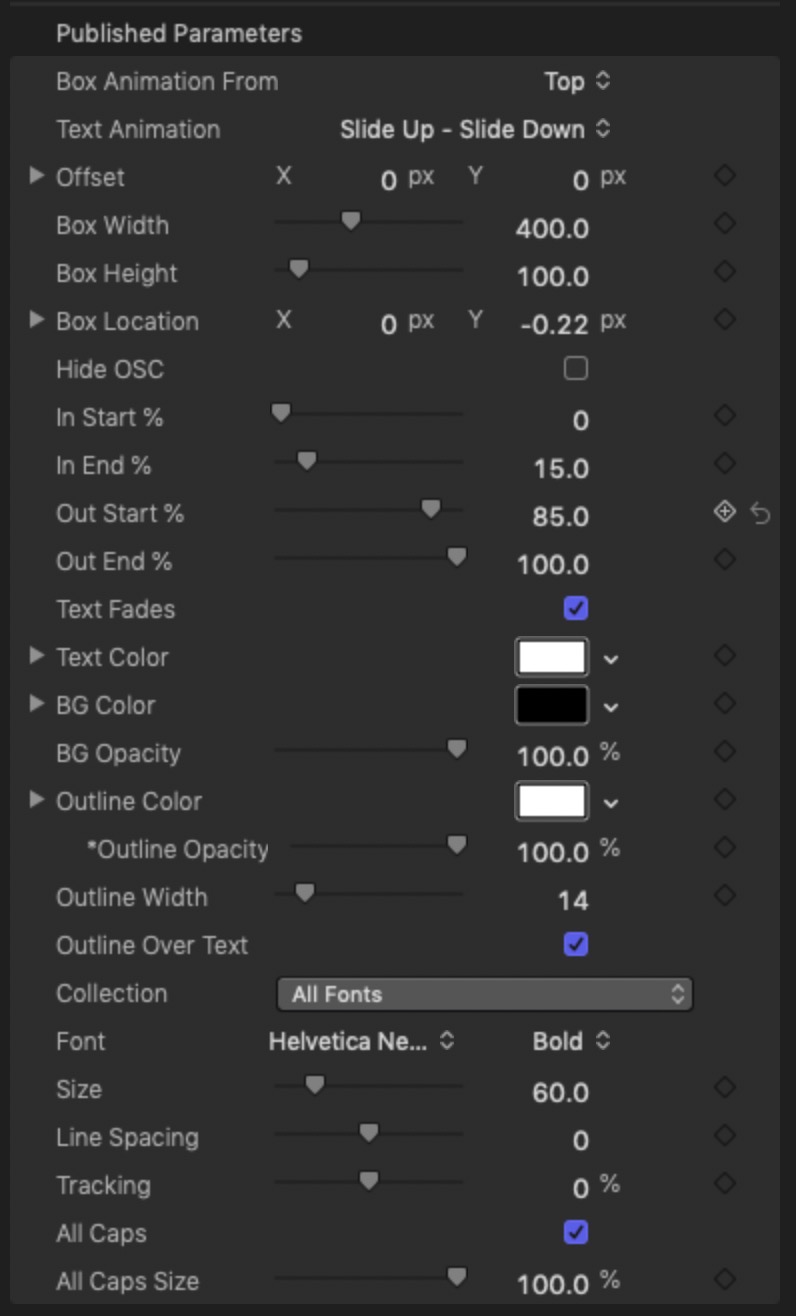
Customized timing controls (no keyframes needed for basic animation)
Box color/style options
Font options available in the inspector
This title can be used to define a “bounding box” for the visibility of the text. Text will not appear outside the edges whether a visible box is used or not.
This title has a uniquely built animation “engine” which controls all aspects of the automated animation.
By default, the text fades in at the beginning of the animation and fades out at the end. The Text Fades option is avialable to make the text opacity constant. For example, if you want to text to appear as if it is “morphing” out of the border.
Parameters:
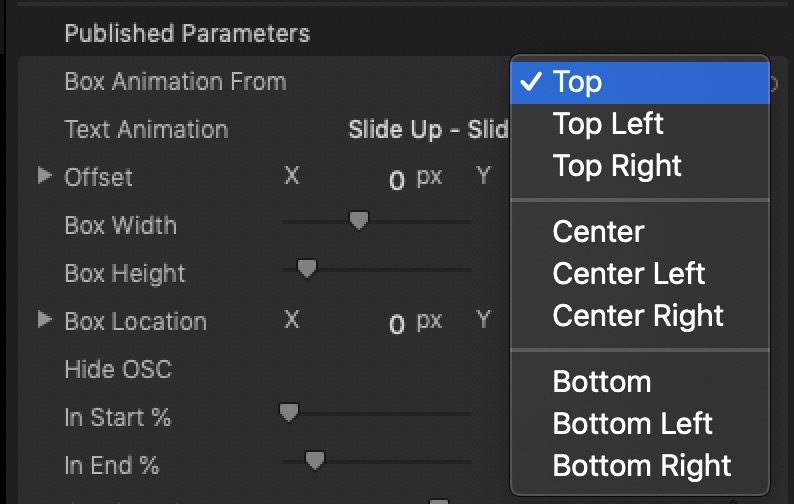
Box Animation
There are nine options shown in the image at the right.
The OSC will be set to the position selected. The box animation extends from the location of the OSC.
See the video below to see how these can be arranged to keep an alignment on one edge even if the box sizes are all different.
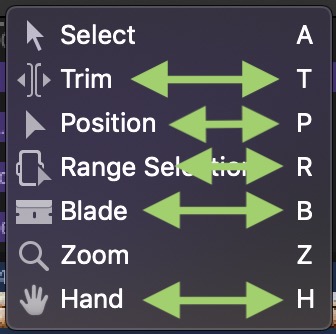
Note: When using the Center option, in order to get access to the OSC, you will need to change the editing tool from Select (keyboard shortcut A) to any of the tools highlighted in the image to the right.
Text objects in the Viewer take precedence over OSCs when selecting with a mouse when the Select tool is active. The Zoom tool also has a purpose in the Viewer. All of the others are free to use for OSC control when necessary.
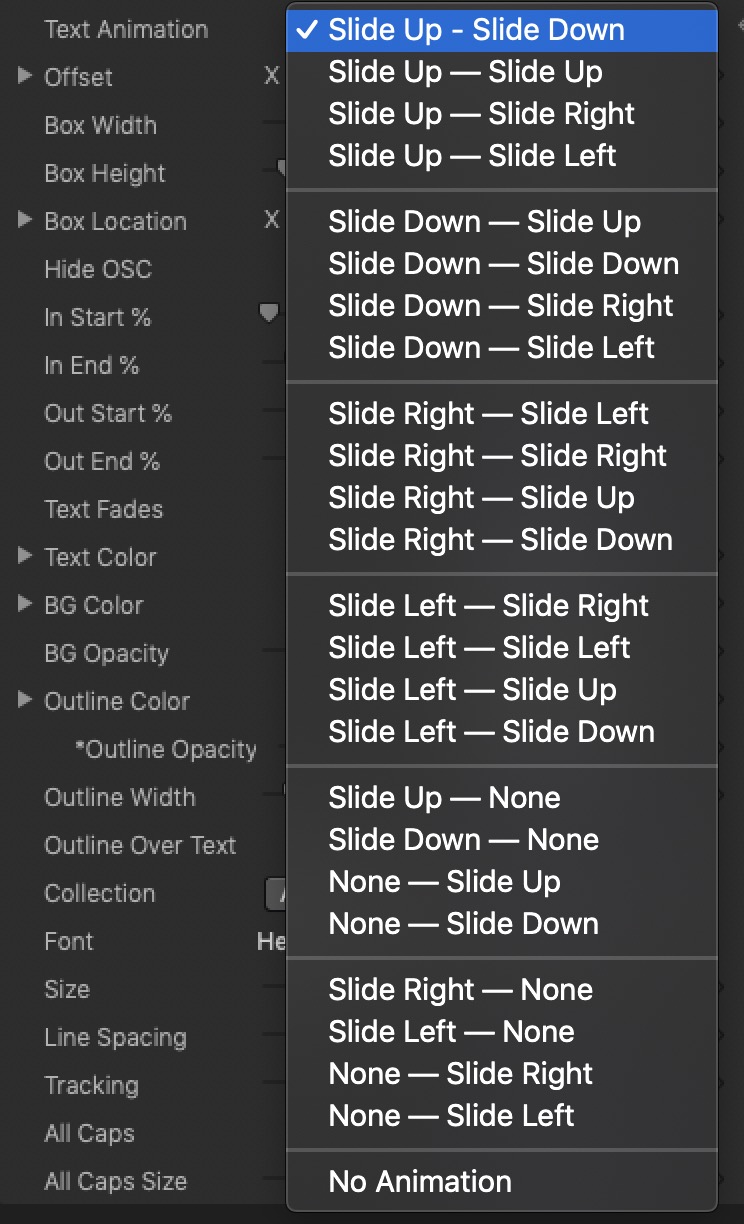
Text Animation
Text animation options are shown at the right. Except for “No Animation” all options are In/Out descriptions.
Text Animations are automatically synchronized to the box animations. How fast they animate is determined by the box animations.
Customize your animations based on the length of time the title exists in the storyline.
Timing is based on the Percent of the length of time of the title.
Timing for one or the other end of the animation is determined by In Start %, In End % and Out Start % and Out End %.
It is possible to overlap timings (which will result in an incomplete animation in or out.)
In animation can be turned off by setting In End % to the same time as In Start % or less. Out animations can be turned off by setting Out Start % to equal or greater than Out End %.
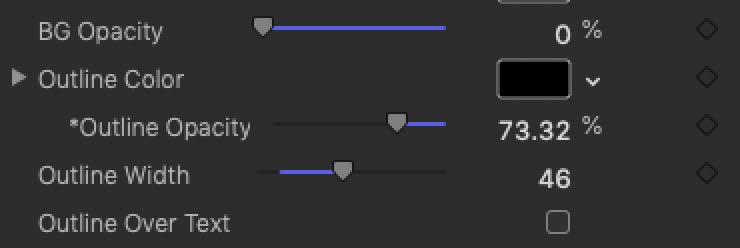
How to make a slider
For slider elements, simply use the Outline of the box with a Height of zero. Deselect Outline Over Text and the text will write over the Outline.
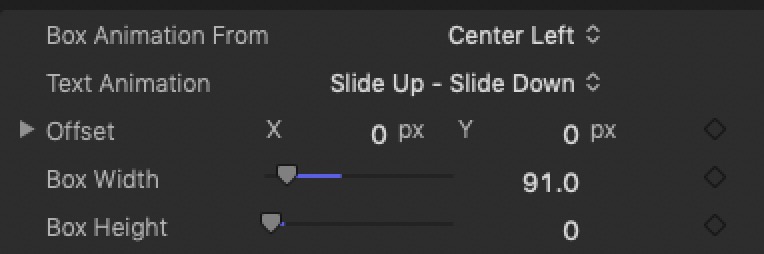
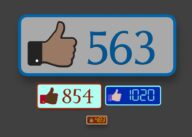
The Label
In this example, the Label/badge will draw on from left to right using the Box Animation From Center Left option.
Text animation is set to Slide Up – Slide Down. Box with wide enough to fit the text with margins.
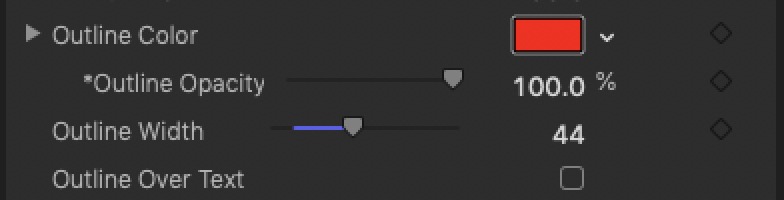
The Outline Width can be set to large enough to accommodate the text height with margins.
Set the Outline Color for the background and the Opacity to taste.
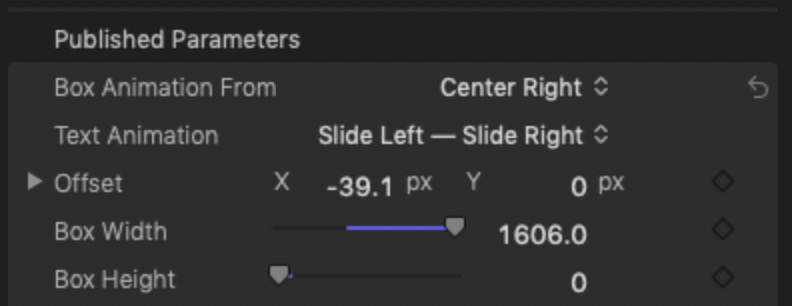
The Track
The track is build similarly but in the opposite direction. The two Box Locations should be the same with the Box Animation From Center Right in this case.
Box Width should extend as far across the screen as needed. Box Height set to zero.
Match the Outline Width to the Label height. Set its color and opacity to taste.
Type you text, set the size and other attributes, then position the playhead to at least where the in animation stops.
Adjust the Offset parameter to where you want the text to stop. No other adjustments for the animation will be necessary.
Going further
It is possible, with layering, to make sliders with changeable text over time.
Create an empty background container that draws the box. Make the title as long as you need for the effect. Set the width and height of the box accordingly. [Hint: predetermine the longest text you will use before duplicating.]
Duplicate it and place it over the original offsetting it slightly later in time. Shorten this instance to, say, 4 seconds length.
Set the BG Opacity and Outline Opacity to 0.
TURN OFF Outline Over Text (you want the text to show!)
Set the text. Duplicate the Title and set a second text.
Arrange the two title instances to get the animation “mix” to your liking , then select both instances and duplicate them and place them in time as you need them.
An example for a label would be the first text would be your channel identity and the second the current time, repeated at however many second intervals you like.
The whole mix will all look the same since the box determines what will be visible.
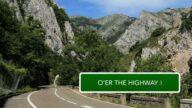
O’er The Highway is an easy to use “sign” template for final cut pro, with a lot of versatility built in to customize the effect to make it useful in nearly any circumstance. Requires FCPX 10.3.0 or higher.