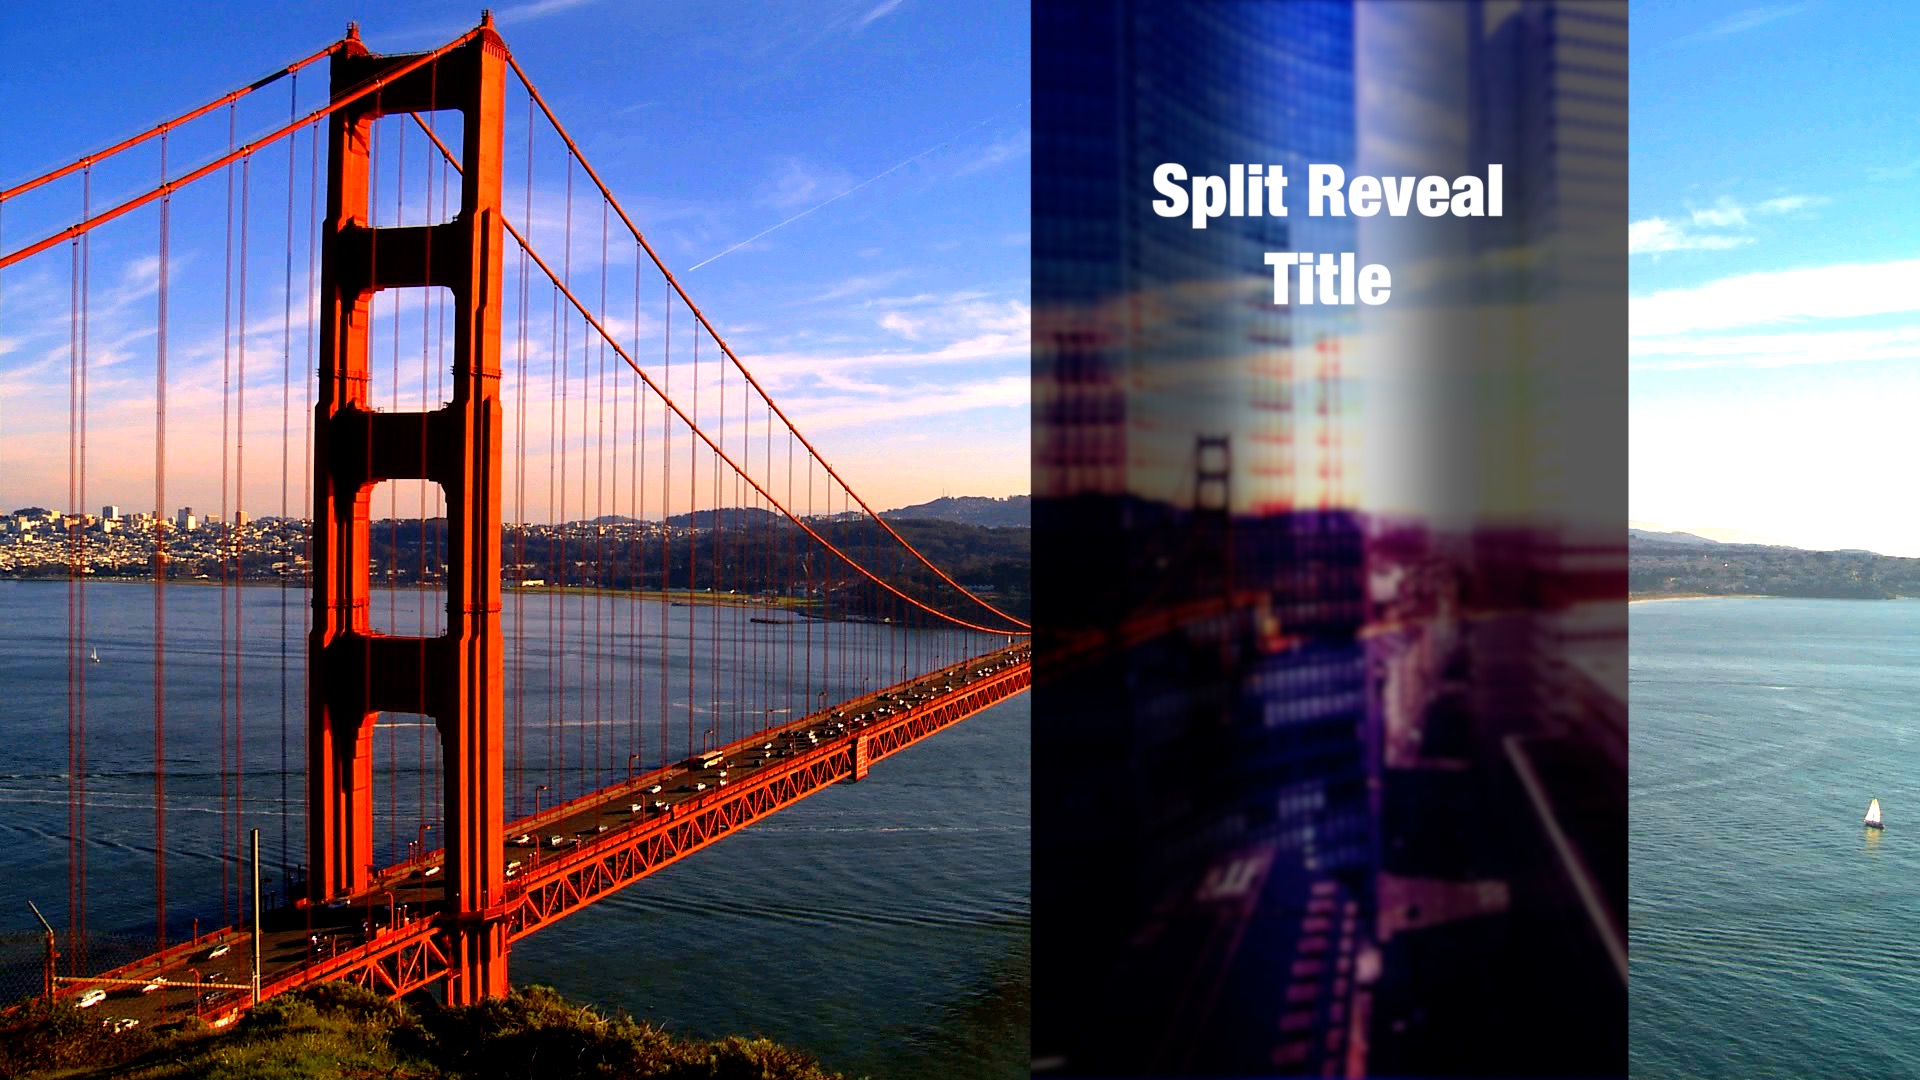


Split Reveal Titles (two variations)
This classic effect was the result of a question asked on Apple’s community forum (Motion). Free instructions to build the first version is included below (as posted on Apple Support Communities Motion forum).
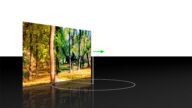
The first version has a stationary “top” layer.
The second version (Split Reveal Alt) is considerably different in build (from a Motion standpoint) and slides the top layer parts apart from the reveal.
The Split Reveal “watermark” in the second version is actually the addition of Highlighter – Text (not included) that can be used to add text content to the reveal section and still “respect” the slide effect.
Start with a Title project.
Select the Text object in the Layers List and open the Text > Layout inspector. Change the Layout Method from Paragraph to Type. Go to the Properties inspector and reset the Position and Anchor Points. You may want to Center the text. Change its size in the Text > Format inspector to 72 (it’s just a good starting point.)
Create a Rectangle object. Open the Geometry tab and dial down the Size disclosure triangle. Type in the Width and Height of your project (I will assume for the rest of this “recipe” that the size is 1920 x 1080.) Go to Properties > Transform and set the Anchor Point X property to -960 px. Rename this rectangle Right Mask
Duplicate the Rectangle. In Properties > Transform, change the Anchor Point X to +960 px. Rename this rectangle Left Mask.
Shift select the two Rectangles and type Command-Shift-G to create a new group containing the two rectangles. Rename this group RevealMask.
To the Left Mask:
Go to Properties > Transform > X and right click on it. Select Add Parameter Behavior > Ramp. Duplicate the Ramp behavior. Name one Open Animation and the other Close Animation.
Move the playhead to the middle of your project. Assuming a 300 frame (30fps 10 second title) that would be frame 150. Select the bottom Open Animation Ramp and type the ‘O’ key to set an out point. Move the Playhead one frame forward (151) and select the Close Animation Ramp and type the “i” key to set an in point.
To the Right Mask, go to Properties > Transform > X and right click to Add Parameter Behavior > Link. Drag the Left Mask to the Source Object well and change the Scale to -1.0.
For the time being and just to test: go to the Left Mask Behaviors inspector and set the End Value of Open Animation to -300, Curvature to 100% and the End Offset to 100. Set the Start Value of Close Animation to -300, Curvature to 100 and Start Offset to 100.
Play this to make sure the rectangles are moving apart correctly.
Clone the Title Background Layer (select it and type ‘K’). Rename it TitleBG Clone. Right click on it and Add Image Mask. In the Image Mask inspector, drag and drop the Reveal Mask Group to the Mask Source.
In the Properties tab, enable Drop Shadow. Set the Opacity to 100%, the Blur to 150 and the Distance to 0.
Clone the Title Background Layer again and name it BGcopy.
Order your layers:
Main Group———
TitleBG Clone
Text Object
BG Copy
Reveal Mask Group (should have its visibility unchecked)
Original title background Group———-
Title Background
:::::::::::::::::::::::::::::::::::
Part 2 —-You’re going to need a transparent PNG as a Drop Zone “holder”. You can either start a new project and immediately Export/Share > Save Current Frame, format PNG and name it Alternate BG.png OR you can turn off all the visible parts of your current project and Share > Save Current Frame, etc.
Import the PNG back into your project. Place it in the original title background Group.
Now… Since this is a title with the background cloned, it will NOT work if you turn off the visibility of the Title Background in any way. To get around this, select the original title background group and move it completely off screen (go to Properties > Transform > Y and drag it down until the title background group is completely offscreen.)
At this point, add in the Drop Zone. Select the BGCopy clone, go to the Object menu and add New Drop Zone (or type Command-Shift-D). Add the Alternate BG.png to the Drop Zone Source Media well.
Select the BGCopy clone and the Drop Zone and type Command-Shift-G to create a new group containing both. Select the Group and add Filters > Blur > Gaussian Blur. Add Filters > Color > Brightness.
::::::::::::::::::::::::::::::::::::
Publishing Parameters
For this project, we will be creating five Rigged parameter setups.
#1 This parameter will determine how much of an opening in the split there will be.
Go to the Open Animation Ramp and with the Behaviors inspector open, right click on the End Value parameter and from the popup menu, Add to Rig > Create New Rig > Add to New Slider. Motion will switch you to the Rig widget so go back to the Close Animation Ramp, select the Start Value parameter, right click on it and Add to Rig > Rig > Add to Slider. Double click on the Slider’s name in the Layers List and rename it Opening.
With the Opening slider set at the left point, set the “Left Mask.Open Animation.End Value” to 0. Do the same with the “Left Mask.Close Animation.Start Value”. Slide the Opening slider all the way to the right and set the two (Start/End value) parameters to -960. Go down the Range Maximum value, double click on it and type in 960. Right click on the Opening label in the Slider widget and select Publish.
#2 Open Start time in Percent of Length of Clip
Go to the Open Animation Ramp behavior and right click on the Start Offset parameter, Add to Rig > Rig > Add to New Slider. Rename the widget: Open Start %.
This Ramp behavior is 150 frames long or 50% of the project. 150 frames goes from frame 0 to frame 149 (zero counts as 1!)
With the slider all the way to the left, set the Start Offset value to 0. Move the slider all the way to the right and set the value to 149.
Right Click on the Open Start % label and Publish.
#3 Open End time
Go to the Open Animation ramp behavior and right click on the End Offset parameter, Add to Rig > Rig > Add to New Slider. Rename the widget: Open End %.
With the Slider all the way to the left, set the End Offset value to 149. Move the slider all the way to the right and set the value to 0.
Rigging this backwards gives you the forward % of time of the end offset…
Right Click on the End Start % label and Publish
#4 and #5 Close Start % and Close End %
Repeat the same exact process for the Close Animation ramp behavior as you did in steps #2 and #3.
Make sure you have 5 parameters published.
Continuing:
You will want to be able to reposition the center of the split.
We placed the Mask pieces inside a group called RevealMask. Select this group and go to Properties > Transform, open up the Position parameter (disclosure triangle) and right click on the X parameter and publish it.
Select the Shear parameter, open it up with the disclosure triangle and publish the X parameter.
Select Project > Publishing and rename the Position.X parameter: Split Position. Rename the Shear.X parameter Slant.
Select the Text object > Properties > Transform > Position and publish it.
Go to the BG Copy group > Brightness filter and publish the Brightness slider.
Publish the Gaussian Blur Amount and check the Crop option while you’re there.
The Drop Zone source well is already automatically published, but select it in the Layers List and Publish:
Pan
Scale
Fill Opaque
Fill Color
with the Drop Zone selected, go to Properties > Blending and publish the Opacity and Blend Mode parameters.
Select the Project “layer” and go to the Publishing inspector.
Drag and drop the parameters that are out of order into this order:
Opening
Split Position
Open Start %
Open End %
Close Start %
Close End %
Slant
Text Position
BG Brightness
BG Blur Amount
Source Media:
Pan
Scale
Fill Opaque
Fill Color
Opacity
Blend Mode
Or the order that makes most sense to you! Just realize you can always reorganize your published parameters. (Consider renaming Opacity and Blend Mode to reference the layer they’re attached to, for example: DZ Opacity, etc.)
If you find any errors, get back with me.
“
I’m not sure if you are aware of this, but Fox gave you an absolute master class lesson in how to rig and prepare a template for usability in FCPX. All I have done here is adapt it for you to split the media instead of wipe the media. — rowie302 [Apple Support Community forum]
Demo
Keep up to date with Sight-Creations on Twitter.
A good place to see all of my effects as well as several tutorials and other demonstrations in use is on my YouTube channel.