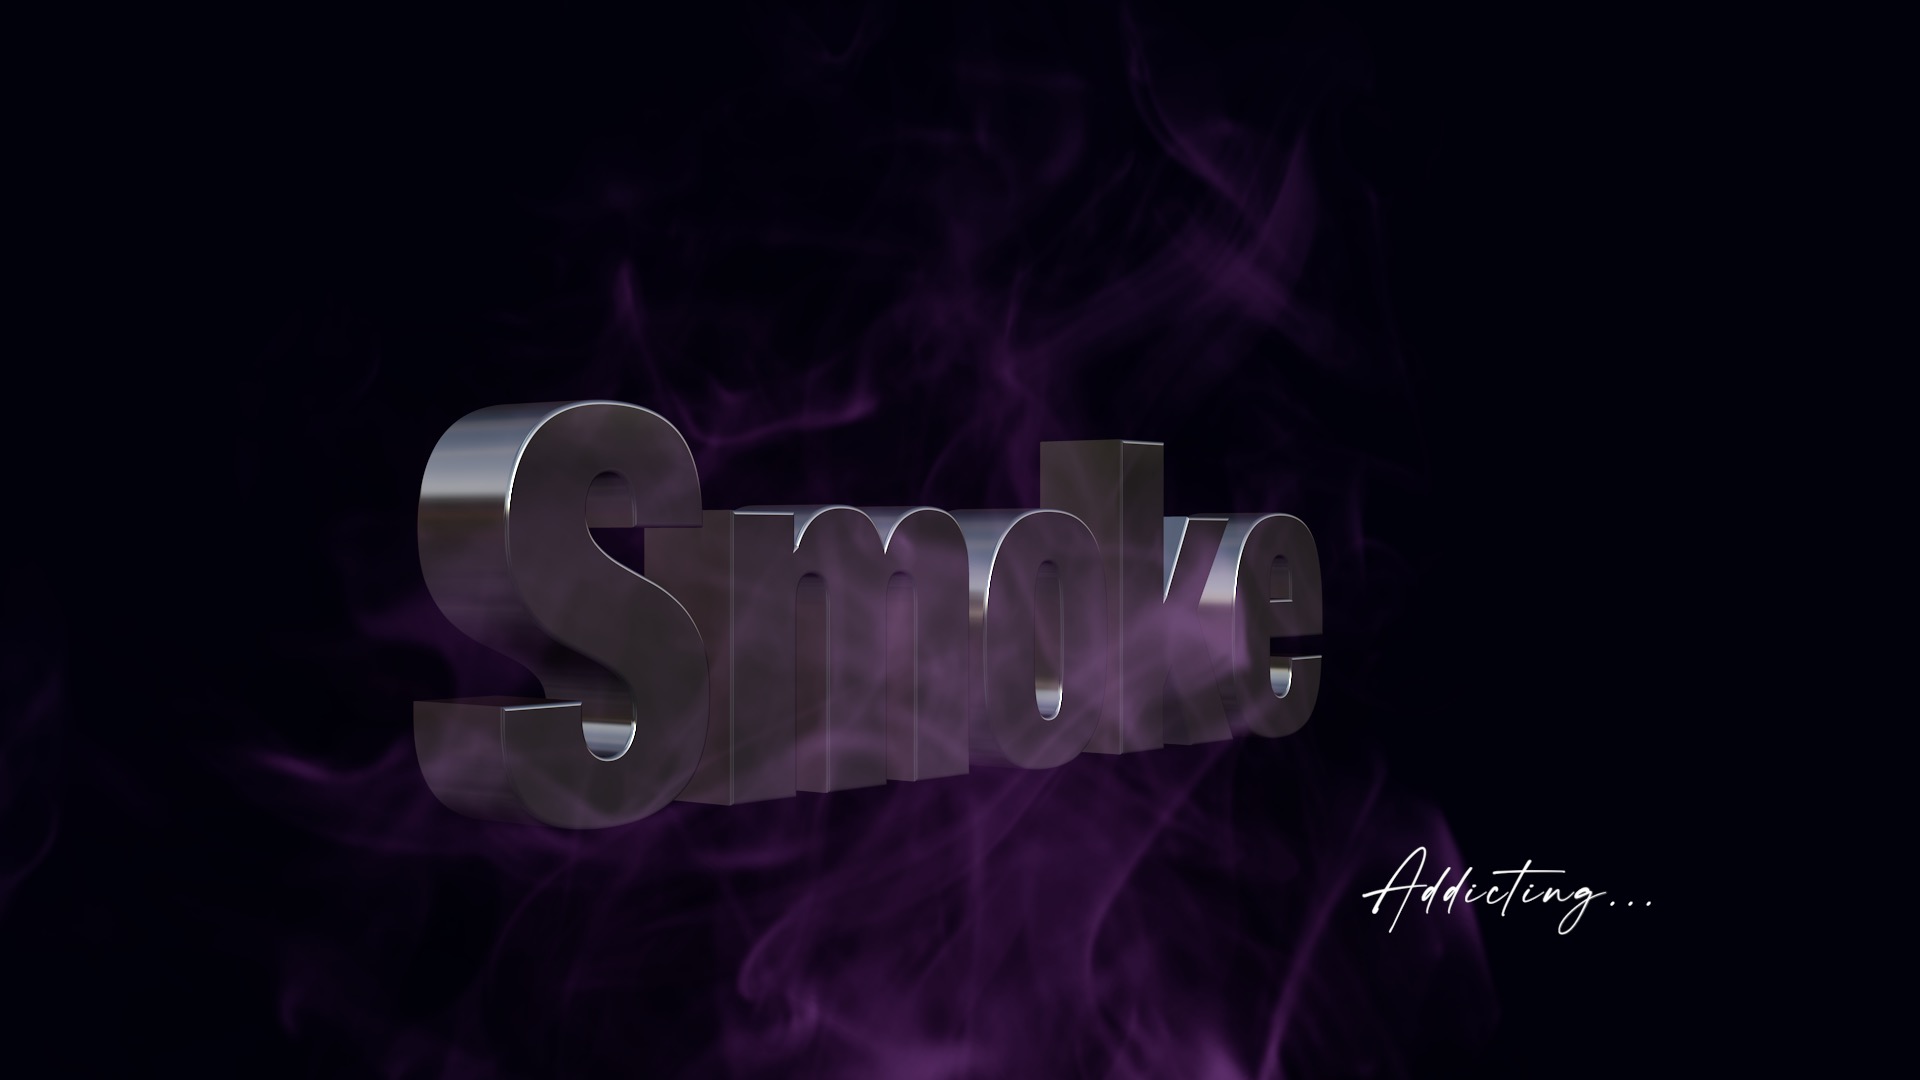

Smoke - a captivating, addictive visual effect for titles and clips
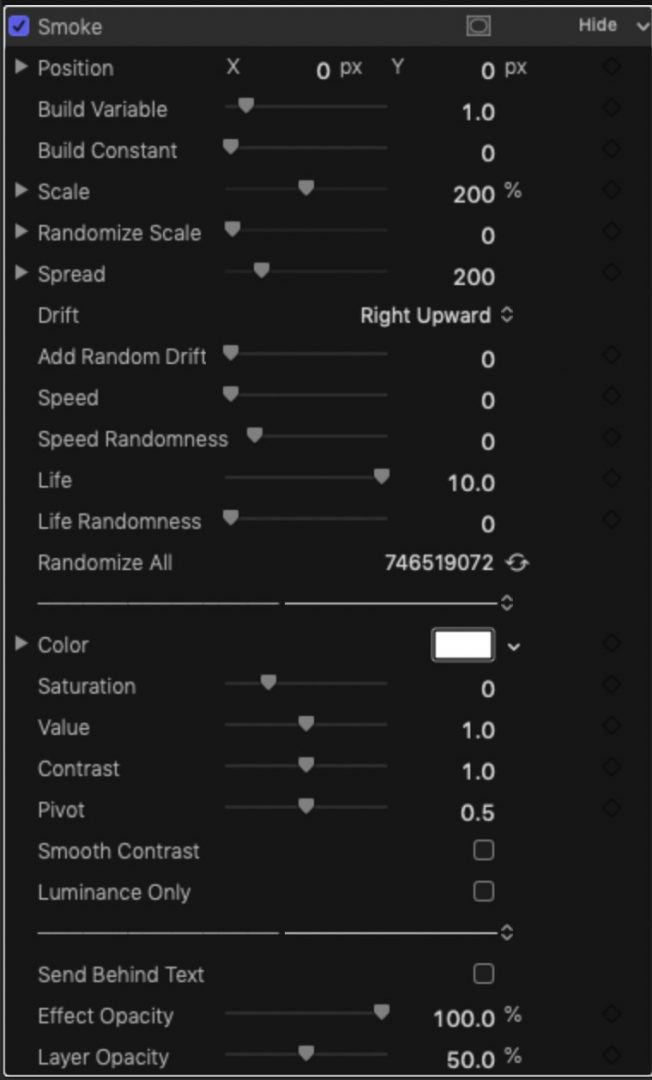
Randomize All will change any randomness allowed across all parameters above.
You can change the Color of the smoke and still make very cool modifications. If you keyframe color change, as time progresses, new color is applied when a smoke element is created – the colors do not change once applied to an element. It is possible to create multiple colored smoke over time.
Increasing the saturation makes the effect more apparent.
Value lightens ( > 1 ) or darkens the smoke. Darkening makes the smoke more “wispy”.
Contrast and Pivot have a similar effect to Value but also features Smooth Contrast and Luminance Only options. Low Contrast / High Pivot makes the smoke “fill” the region more densely, but much less colorfully if you’ve added color.
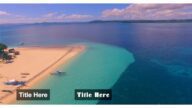
When applied to a Text object, using Send Behind Text will make sure that smoke does not appear over the text. However, in most cases, you won’t be able to tell over light colored text. This option, and smoke surrounding text really is more dramatic with 3D Text with a metallic texture as in the product feature image above.
Using Smoke
This effect works well with just about anything!
The best way to get started is to use this effect with the Basic Title (or any title that does not have a Title Background layer). If you don’t know what that is, when you set the Compositing Opacity value to 0, not only the text, but the entire scene beneath the text will disappear. Titles without the background layer will only fade the text and leave everything else as normal.
Experiment with the settings to get a feel for what you can do with this effect. There are a lot of hints mixed up with the parameters outline above.
This is very effect with titles using an Effects Mask > Shape Mask and creating a horizontal (or vertical) strip. (If you have Highlighter, you can actually apply outlines to these regions!)
When using this effect with video clips, you may have to increase the brightness against the background. Manipulating the Contrast/Pivot combination as well as increasing the Value and Saturation will help immensely.
This effect operates with a “permanent” blend mode. Attempting to darken it will almost be the same as decreasing its opacity.
There will be many uses for this effect — I leave that up to your imagination.
Feel free to add more than one instance to any clip or titles!
Don’t forget to save your creations as Effects Presets so you can have them handy for your next project and reuse those “just perfect” settings later on without having to rebuild everything from scratch!
Demo:
Keep up to date with Sight-Creations on Twitter.
A good place to see all of my effects as well as several tutorials and other demonstrations in use is on my YouTube channel.