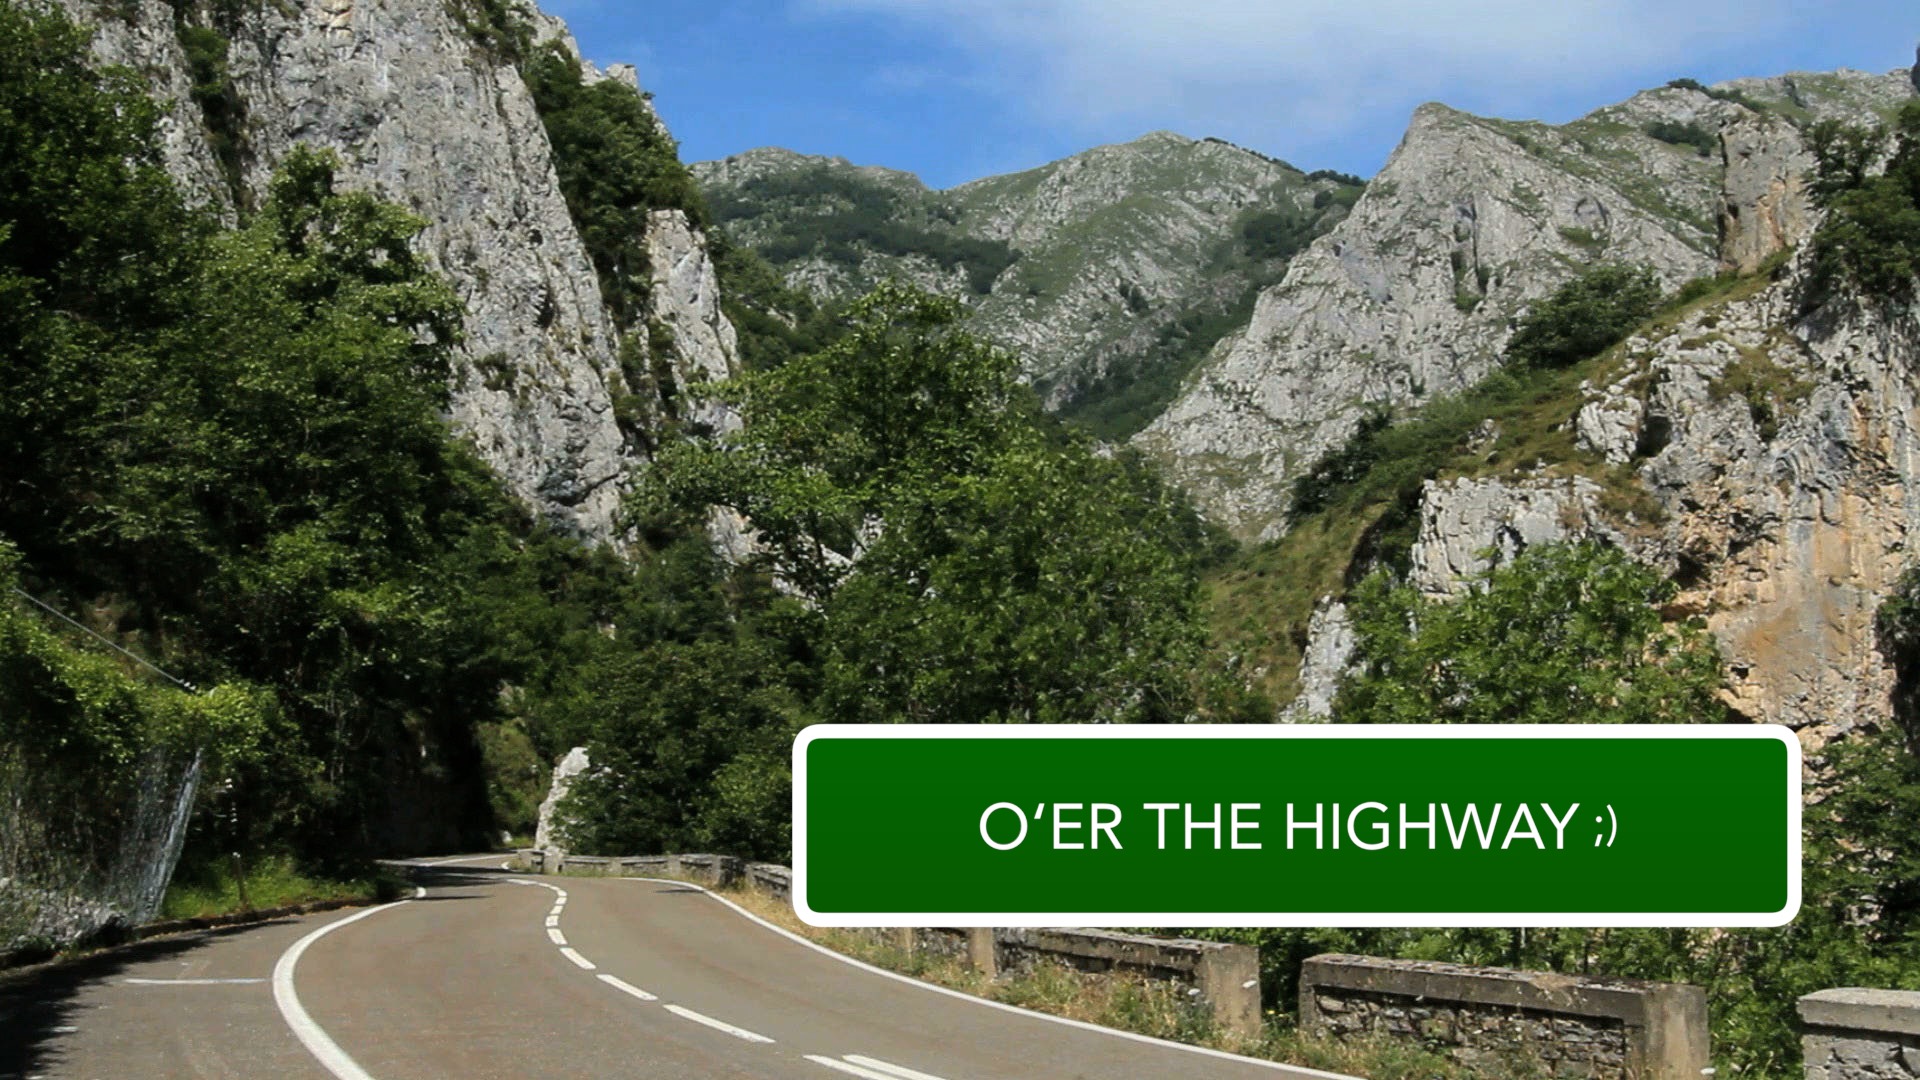
O'er The Highway
O’er The Highway is an easy to use “sign” template for final cut pro, with a lot of versatility built in to customize the effect to make it useful in nearly any circumstance.
O’er the Highway Parameters:
Position (for animation) — unfortunately, position cannot be keyframed by dragging the title in the viewer. You must manually keyframe position parameters. If you do not need keyframed animation, then positioning is easy! Simply click on the text and drag where you need it to appear.
Rotation — rotations can be keyframed by manipulating the text in the viewer. As a “trick”, switch to the Text inspector and convert the text to 3D. Click on the text in the viewer and a 3D onscreen control will appear. When you’re finished, convert back to 2D (or leave it in 3D if you like).
Direction — drop down menu to select text “write-on” direction. Options are Top Down (or left/right for single line text) and Middle Out.
Animate — drop down menu to select the text “chunk” to write on. Options are Character, Word and Line.
Animation Speed — when set to 100, there is no animation (write-on is instantaneously). As you adjust towards 0, write-on effect is slowed somewhat. When below 100, the background size animates with the appearance of the text. How it changes size will depend on the Animate option selection.
All Caps — For most fonts, All Caps is recommended because the introduction of descenders often causes the background to “jump” as the line size changes. Punctuation characters can also cause a problem, but if you resize the font size down and reset the baseline slightly, you can stop the background from jumping. All Caps is usually recommended.
Roundness — adjust the corners of the background rectangle.
Outline Width — sets the outline width of the background rectangle. A setting of 0 will remove the outline.
Outline Color — when the outline is visible, this will set its color.
Width Scale — allows you to set or adjust the horizontal “padding” around the text.
Height Scale — allows you to set or adjust the vertical padding around the text.
Bg Designer — A gradient to colorize the background. This is the most versatile tool to apply color. A single color tag (below the gradient preview) and opacity tag (above the gradient) is all that is required. Clicking in the bar below the gradient preview will add a tag. You can apply as many new colors (or shades) as you need. The full documentation for a gradient is beyond the scope of this document.
Font Parameters is a divider to separate:
Font — defaults to Avenir Roman (all users of FCPX have it installed automatically).
Size — defaults to 64. This is the font size. Adjusting this value will have an influence on the size of the background.
O’er the Highway Installation Instructions.
Keep up to date with Sight-Creations on Twitter.
A good place to see all of my effects as well as several tutorials and other demonstrations in use is on my YouTube channel.