Tag: animation

Page Flip transition for final cut pro x

Page Flip User Guide

Page Flip Transition

User Guide

This package contains four Transition effects: Page Flip – Open, Page Flip – Close (drop zone versions); Page Flip TLP – Open and Page Flip TLP – Close (timeline pin versions). Open shows the pages “opening” or peeling off and Close shows the pages overlaying the drop zones before.

This transition is fairly straightforward. It is designed to be 3 seconds long when added between clips (overriding preferences). The 3-second length is synchronized with the Audio (supplied). You can speed up or slow down the effect by changing its length in the storyline.

There are two audio effects supplied with this effect. They are named: Page-flip-sfx.wav and Page-flip-open-sfx.wav.  If you change the length of the transition, you will need to edit these down and reposition the effects.

There’s an OnScreen Control to make designing custom page animation easy. The OnScreen Control affects the Angle and Rotation parameters.

Page Flip Onscreen Control

OSC in center screen: white circle with two line segments separated by a smaller circle and tipped by an arrow. You cannot drag the center circle, but can drag the smaller circle and the arrow head.

The Radius parameter controls the amount of curl on the page. A small value is a tight curve. A Large value is a slight bend.

Fade Out controls a fade effect as the “pages” finish their animation.

Fill Color and Fill Opacity can be used to change the appearance of the backside of the pages. The default setting should be good for most situations.

The rest of the parameter list for all of the transitions concerns the drop zones. For the TLP versions, there will be no actual drop zone source wells, just the Pan and Scale parameters. These can be used to resize and reposition the media in the drop zone area (useful for misbehaving media which you may run into once in awhile.) In most cases, you shouldn’t have to make any adjustments for media that is 16:9 format.

Aligning Audio to Page Flip:

page close audio

For Page-flip-sfx, align the playhead through the middle of the “bowtie” on the transition, then align the middle audio peak to the playhead

Page Open audio

For Page-flip-open-sfx, align the playhead through the middle of the bowtie then align the middle peak to the playhead. Note that the first peak aligns with the start of the transition. In this example, there is an Audio Fade applied to the end.

Tips for Timeline Pins:

In the demo video below, there is a scene of a couple of children running down to the beach. All four pinned frames are from the same clip. If you do not want to show the clip, but still use the stills in a sort of stop frame animation, then simply place a connected clip or secondary storyline over the clip you used for the stills. The reason this is necessary is that timeline pins always must be on the same storyline as the transition.

Timeline pins can be a little “persnickety”. If you drag the dot over a clip in the timeline and release the mouse, a lot of the time the pin will snap back to its default position. The tip is: when you drag the timeline pin to another part of the storyline, bring the mouse down into the clip before releasing the button. The pin should stick where you placed it.

Page Flip using timeline pins

Demonstrations:

Installation Instructions.

Keep up to date with Sight-Creations on Twitter and Facebook.

A good place to see all of my effects as well as several tutorials and other demonstrations in use is on my YouTube channel.

Hinged CRT - LiveType TV LiveFont Revisited

Hinged CRT User Guide

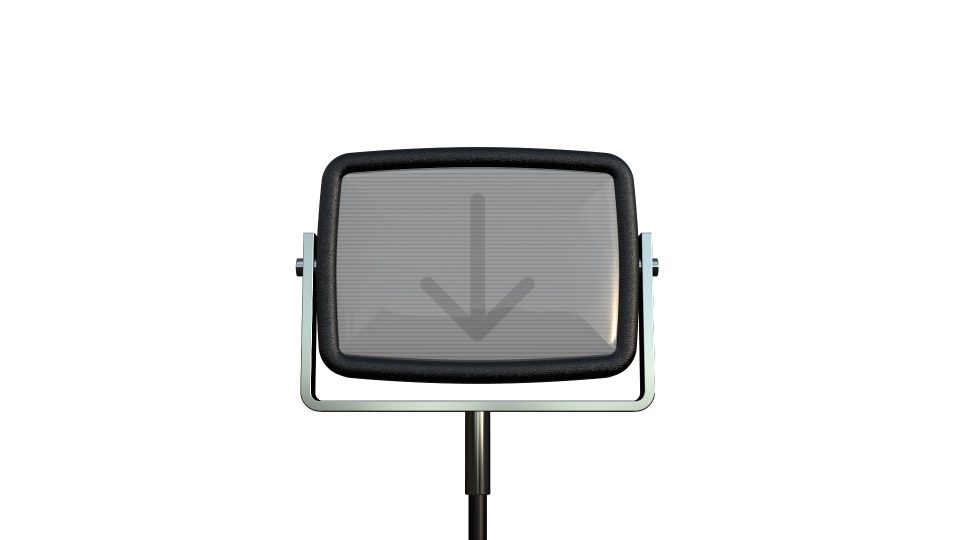
Hinged CRT Generator

User Guide

I want my LiveType® TV!

This is not a complicated effect. It’s basically a drop zone with window dressing. This effect requires the installation of a special font used to create the 3D text effect graphics (included with the plugin download).

This generator is auto animated via the optional Build In and Build Out parameters. The Build In animates the CRT up into view with a turn (just like the original). The Build Out turns the CRT and pulls it back out of the scene. There are other controls that can be keyframed to customize animations however you like and they can even be used to supplement the default animations.

There are sixteen default animations, eight standard and another eight with the turn direction reversed. CRT is animated from scene edges (top, bottom, right and left) and the Long descriptor means horizontal orientation of the CRT while Tall means vertical. The turn for all orientations is screen up to face front. The turn, if Change Direction is checked is screen down to face front.

Hinged CRT Modes
Build Animation Modes

First trick:
Set up the Hinged CRT generator as if it were a completely finished effect including all keyframed animations. Blade through the middle of the generator (all keyframes will remain intact) and change the Build Out animation to move in the opposite direction by selecting the Change Direction checkbox.

Parameters:

Hinged CRT FCPX Plugin Parameters

The Zoom slider will increase the size of the CRT to slightly larger than 1920 x 1080. For larger format media, use the Video Inspector Scale All parameter. It will still look great!

The Horizontal, Vertical and Rotation Offset parameters can be used to customize animations, even the Build In/Out animations already in progress! Rotation reorients the entire Hinged CRT model, not the CRT in the hinge mount.

The front screen “glass” effect looks a little lame… due to the nature of 3D surfaces in Final Cut, there’s not much that can be done. A Reflection Amount parameter has been added to help reduce the otherwise sharp edge effect in the glass. Another technique to disguise its appearance is to rotate the CRT about -7º to shift the shine slightly and smooth out the edges.

The next section of parameters deals with the Drop Zone. Select the Drop Zone source well and FCPX will present a “two-up” display in the Viewer. Select your source media from the Event browser. If your media is to be video, then as you mouse over the video in the Event Browser, the cursor will change to a pointing finger and you should see a skimmer bar. Keep an eye in the viewer and where you click on the Event thumbnail will select your first frame of video to be used. If choosing an image? It doesn’t really matter where you click.

The Drop Zone can also be filled with any kind of video you create in the storyline. You can combine video, photos, titles and generators just as you would for your normal video presentation. Bundle all the pieces to be used into a Compound clip and select the starting frame from your compound clip right in the storyline. Once you fill a Drop Zone with media in the storyline, you may simply delete that media from the storyline and the drop zone will retain what was placed in it. This is especially convenient if you need to simply place Title text in the CRT without having to make a compound clip. Once loaded, reuse the title for another instance of Hinged CRT or simply delete or “hide” the title (typing the V key on any kind of selection will toggle its “visibility” [or turn on/off audio as well.])

There are Pan and Scale controls to help align and/or fit video into the CRT screen. You may also changed the background color of the dropped material (e.g. text) with the BG Fill Color. The color selected will appear slightly different due to the design of the 3D model. Color “richness” can be compensated with the Contrast, Brightness and Gamma controls at the bottom of the parameter list.

Bad TV options are on be default but minimally used (scan lines). Unchecking Bad TV will present a “straight” media image with no “old TV” effects.

Waviness is a good way to provide “glitch”. Keyframe a jump into Waviness to last about a second and jump back out (reset to 0).

Roll is best used by setting from one extreme and keyframing to the other depending on the direction of the roll.  That action will give two “flips” through the image and looks convincing even when the Drop Zone media is scaled down (creating a rather large border between the two rolled images).

Static, like waviness, is best used in moderation, but the choice for all of these features is yours!

Reducing Color Sync will give the image color edges (faded red and cyan – probably looks somewhat “cool” with red-cyan 3D glasses :D).

Old TVs were very “flexible” in their display of onscreen images — the Saturation control can help with that little bit of realism as well.

The next three parameters deal with scan lines. You really have to play with them in conjunction with each other. The number of effects achieved cannot be enumerated here.

And last, the previously mentioned Contrast, Brightness and Gamma Controls. These can be used to adjust the actual dropped image in the Drop Zone.


Have fun!

[LiveType® is a registered trademark of Apple, Inc.]


Demo video:

Keep up to date with Sight-Creations on Twitter and Facebook.

Talking Head effect for Final Cut Pro X

Talking Head User Guide

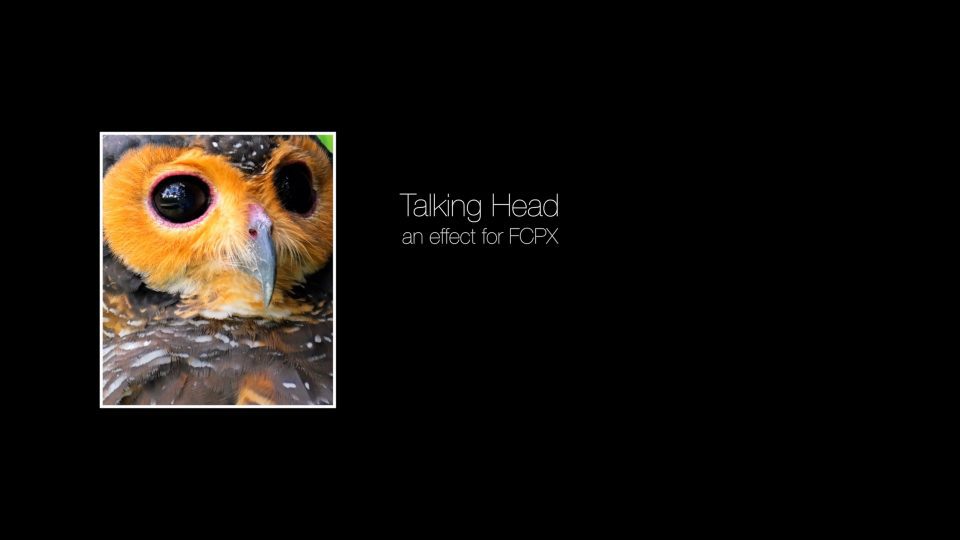
Talking Head User Guide

Video layouts and title animation made easy.

Talking Head is an Effect template for Final Cut Pro and was inspired by news channel format for “remote” interviews. A talking head is usually a camera shot in a kind of Picture-in-Picture format. However, most picture-in-picture effects for Final Cut are accomplished by the use of Titles or Generators using Drop Zones.  Anytime a drop zone is involved, all audio from any clip applied to the drop zone is gone.  If audio is needed, the audio track must by reapplied to the storyline and manually sync’d for the drop zone media. Talking Head is not a drop zone – it is the actual clip with all its properties loosened from the confines of the video full frame.

Talking Head has an OnScreen Control (OSC) to assist in making your clip layouts exceptionally easy. Size your Talking Head with the Dimensions parameter (dial down the disclosure triangle to set the Width and Height separately) then drag it into position with the OSC. Use the Horizontal and Vertical Img Offsets to reveal the portion of your clip required and use Image Scale if necessary to fit your subject inside the dimensions you have set. It is possible to animate the Horizontal and Vertical Img Offsets to slide your subject into the Talking Head “space”. There are controls for “Fill Color” and Fill Opacity to create a custom solid color background, or set the Opacity to zero to have the clip below show through.  There are similar controls for the border.

Talking Head is a “modular” effect. It can be applied along with any other effect and it is layer sensitive (effects added after Talking Head will affect the Border and Fill (if exposed). You can change the order of effects applied to a clip by using the mouse to drag them in the Video Inspector over or above other effects already applied.

Using Talking Head to create custom title effects

When added to a title like Basic Title, Talking Head can turn the title into text with a background fill, or outlined, or both. Text can be animated by Position and Rotation via the Position and Rotation controls added by the effect. Text can be animated inside the Talking Head frame to make a scrolling text effect, or a “news crawl” effect. Use the Horizontal and/or Vertical Img Offset parameters to keyframe the animation. See the video below for ideas.

Layering

More than one Talking Head can be applied to a clip to create other effects as well, for example:

Talking Head 1, blue outlined clip. Talking Head 2, orange outlined with white background.

Tip for building a “slide” in effect:

The best workflow is to build your “final” layout. Size all your Talking Head effects in the “canvas”.  Move the playhead into the clip by a few seconds. Set a Keyframe on the Center Location parameter and the Dimensions parameter. Back up the playhead several frames (depending how fast you want the effect to animate – it can be changed later). Set the Dimension Width (or Height) to zero. Use the OSC (or click and drag on the Center Location X parameter) to move the Talking Head clip to line up next to the section you want it to expand from. Play. If done correctly, the left (or right) edge will remain stationary and the clip width will expand to fill the originally designed area. See video for example.

Installation Instructions. (Talking Head is an Effect).

Keep up to date with Sight-Creations on Twitter and Facebook.

A good place to see all of my effects as well as several tutorials and other demonstrations in use is on my YouTube channel.

Use 3D Titles for the 3D orientation onscreen control

A Simple Trick with FCPX Titles

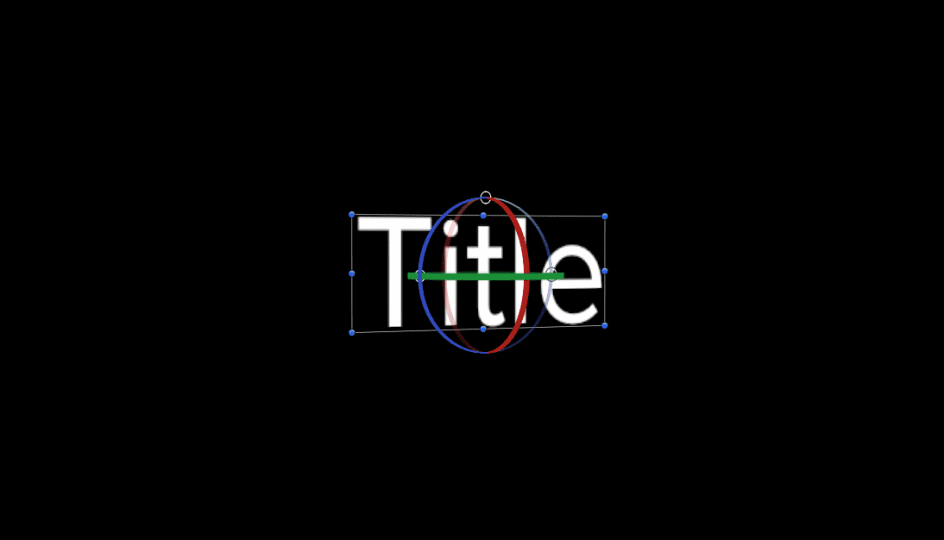
A Simple Trick With FCPX Titles

Rotating Title text in FCPX

You will need FCPX 10.2.x in order to make use of this tip.

[ QuickTools has been upgraded, enhanced and greatly expanded by SC KeyFX! ]

I’ve created dozens (if not more than 100) titles for FCPX, but for my own personal use, 95% or more of the time I just simply add a Basic Title to my storyline as needed. If you’re familiar with Basic Title (and you should be!) you’ll know that there are no parameters available. One of the features of Basic Title is that the Title Background is absent. This Title Background is a placeholder used in developing Titles in Apple Motion to represent the content of the storyline in FCPX (or more accurately, the content of *everything* video/image related beneath the title in the storyline). Something to keep in mind as I’ll get back to that later.

The behavior of Basic Title in the storyline is that you can click on the text in the canvas and drag it around to place it in the scene. You cannot keyframe the motion to create an animation in this way. Keyframing animation is not the important point of this story, it’s just a point of note.

What this article is about is a “trick” to be able to *rotate* the text in 3D space to arrange it in the scene. It should work in any Title or Generator that includes editable text in the canvas.

With the Title selected in the storyline, click on the Text tab of the Inspector. Activate 3D Text (you can turn it back off afterwards!)


3D Text - not selected
3D Text Select

Go back into the canvas and mouse over the text area. You should see an outline appear:

Title Selection

Click *once* inside the rectangle. You should see a 3D control appear:

3D Title OSCs

Clicking and dragging inside the circles will allow you to rotate the text in 3D space. The top circle is the X-axis rotation (a red “great circle” will appear when activated). The left circle will be the Y-axis rotation (its great circle is green). The right circle will be the Z-axis rotation (and its great circle is blue).

3D Title Control

If you hold down the command and option keys, you can coax all the great circles to appear and stay on allowing a floating rotation control with the mouse in all directions at once.

You may not like or need a 3D look to the text so you can turn 3D Text back off to restore the 2D text and the orientation will remain as in the example frame below. This is a great tool to help align text along perspective planes inside video. It’s not perfect but seems to be convincing enough most of the time. To make it work better — if you have Motion — you could publish the Camera: Angle of View parameter and possibly the Camera: Distance (Position.Z) to emphasize parallax views.

Integrating Titles Into the Scene

The second part of this article is about taking the technique to another level, that have having it appear integrated into the scene — to have action move in front of the text. Take a look at the examples in this video:

QuickMask is part of the QuickTools Effects sold on this site and on my store on Creative Market. The mask only works in this fashion on Titles that have their Title Background placeholder disabled. You can download a *FREE* Basic Title with Parameters title/template here (http://sight-creations.com/free_stuff/sc_Title_with_Params.zip) which will allow you to animate the title in the canvas without having to use the Transform parameters for the entire “layer.” You are able to keyframe rotation using the onscreen 3D controls, and although the position parameters respond to onscreen control movement, you must manually keyframe the Position parameters (for some unknown reason) as onscreen control changes for position are ignored in FCPX.

The power of QuickMask is based on the newly included feature of “effects masks” in FCPX. For an overview of Effects Masks watch this video:


As it turns out, effects can be used on Titles as well and if a title has no background placeholder in use then this visual effect can be accomplished with QuickMask. The masks are easily animated/keyframed making creating the effects shown in the top video possible. The downside is that you have to manually “track” the masks. The upside: manual tracking is usually faster (although more tedious) than automatic tracking — and considerably less expensive! Note: since this technique only works on Titles with no Title Background layer, the Color Mask option is useless (unless you use it directly on the text).

—F•X

Keep up to date with Sight-Creations on Twitter and Facebook.

Apple Watch 3D Model

The Apple Watch 3D Model that wasn’t released


Developed in August 2015 but never released.  Why? Apple never made the San Francisco system font available to other applications (system only) and the fonts are only available to those who have an Apple Developer account. Furthermore, developers could only use it for interface “mock ups” (although this model might qualify).  The Mickey Mouse watch face would have never been included because it  is © (and trademarked) by the Walt Disney Company… probably forever.

This model’s features:
built in clock display (which runs fast – it’s just a demo)
front “glass”
animatable position/rotation parameters
animatable dial/crown rotation
animatable button
drop zone w/Pan and Scale parameters
drop zone position and rotation parameters to animate turn effect
clock position and scale (in case of repairs!)
glass reflection intensity control

I developed a generator to go with this model:
https://www.youtube.com/watch?v=3dZ7560xcUc (dated Aug. 29th, 2015)
which is a frame accurate, settable and customizable watch.

The second half of this watch demo (the activity monitor) was another generator I created for the watch drop zone (also not released).

The state of this watch model/Motion template is in limbo.

I may develop the text font for this clock myself when (or if) I have the time as a substitute to the required version of San Francisco used in its making.