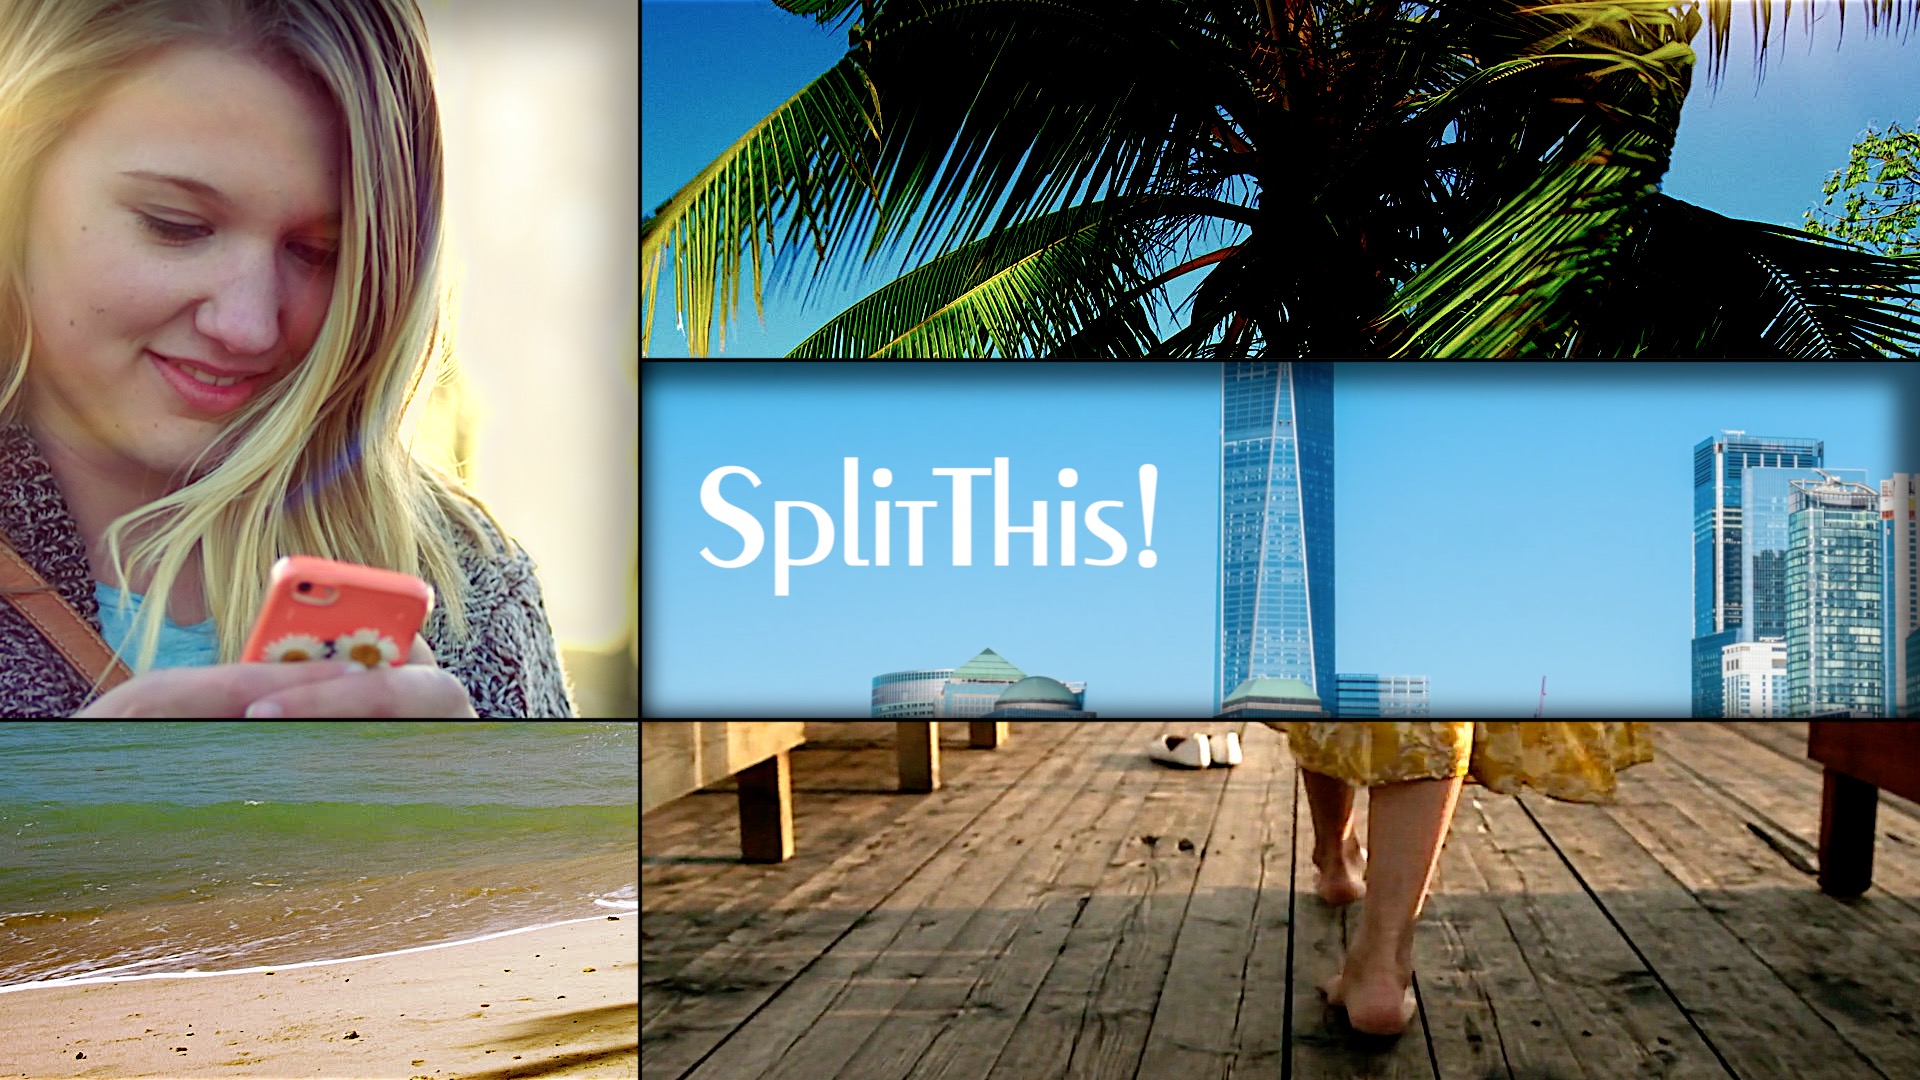

Split This! Perfect for Instagram, TikTok (or any) videos
Split This! consists of three effects. There’s a separate “Border” effect and an Inner Shadow effect. An accessory “Title Fixer” is included if you want to use this effect to animate title text. (See below for more details).
Updated June 2, 2023
Split This! (v.3) — The original setup required choosing horizontal and vertical “blocks” to use — thirds or fourths. The “block” is now automatically chosen by the Width and Height parameters.
“Slider X” and “Slider Y” have been changed to Location X and Location Y.
The previous version required a special slider to “fix aspects > 1.778” (or standard HD). This version now handles the conversion automatically.
Split This! Borders (v.2) — the previous version provided convenient alignments of Horizontal and Vertical lines only within the 3-block or 4-block settings. Now, the alignments are set up to mix with 3rds or 4ths.
Adding Split This! to a clip will default to a cropped section of the clip that is 2/3’s its normal width and 1/4 its normal height.
Use Location X to position the clip on the horizontal row. Use Location Y to position the clip in a vertical column. This action snaps the clip into its section.
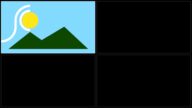
This effect is capable of arranging clips in a 4×4 or 3×3 grid, or a combination of both.
Width and Height are used to set up the clip with measurements based on the total width and height (“Full”, 3/4, 2/3, 1/2, 1/3 and 1/4 sizes). Selecting width and height settings automatically select the grid settings into which the clip will fit.
Center Media will automatically pin the center of the clip to the center of the resized clip. Unchecking this option will simply crop the clip to its final section.
Pan H and Pan V can be used to offset the center or the uncentered clip to your liking.
Scale can be used to downsize or otherwise fit the clip in its space.
Rotation rotates the whole clip, not just its image.
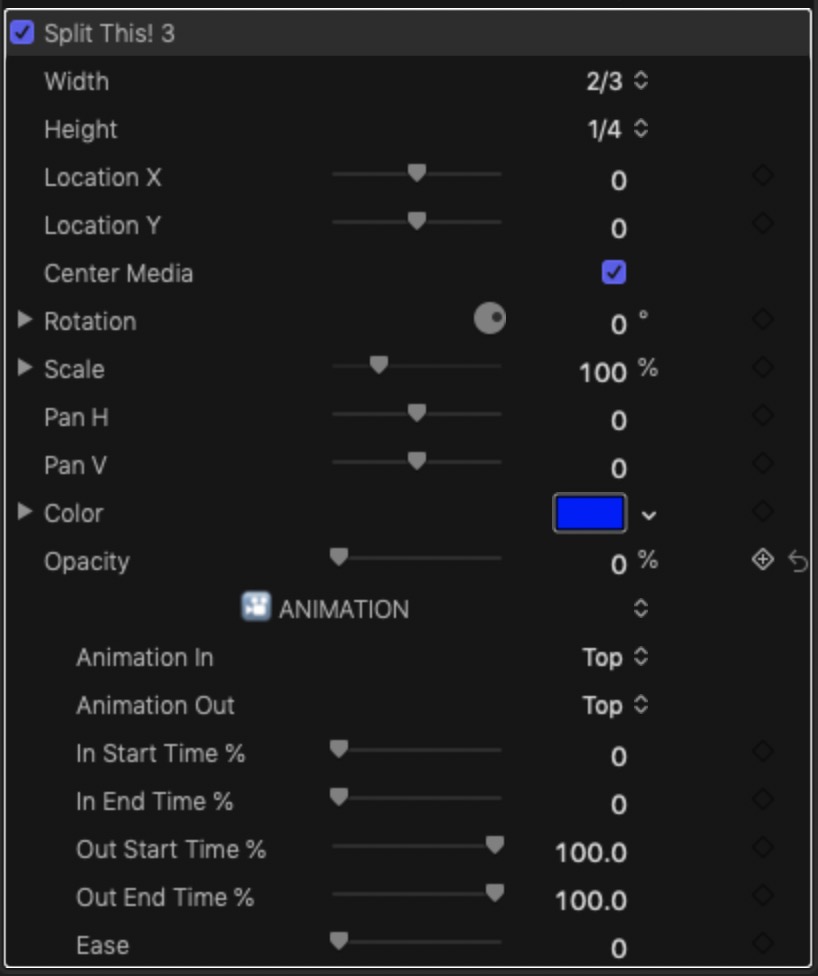
Color and Opacity are used for a background for the resized clip. Fades can be keyframed if needed. (See demo.)
The Animation section
Animation is a slide and it’s automatic. It is set to zero by default. You can set the In Start Time % (percent of clip length) and how long you want the clip to animate in with In End Time %. Animation out is the same using the Out Start Time % and Out End Time %.
As long as the In End Time % is greater than the start time, there will be an animation in. As long as the Out Start Time % is less than the end time, there will be an animation out.
Animation direction options are set with the Animation In and Animation Out menu options. These are in from and out to the Top, Right, Bottom, Left, Top Left, Top Right, Bottom Right and Bottom Left directions.
Ease goes from Linear to Ease Both and will be more noticeable the longer the animation times allowed.
Note about Fix aspects > 1.778
This condition has been taken care of internally to the template.
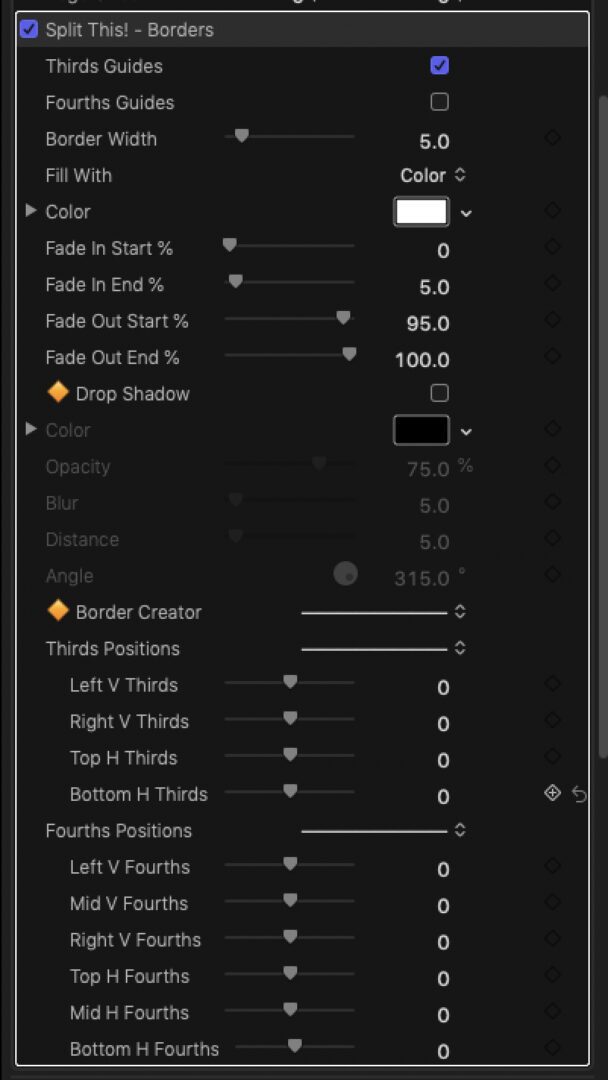
Borders
The borders are a separate effect. This is useful when you need to be able to customize how the lines are drawn… Since this is an effect, you can use an Effects Mask > Shape Mask to isolate middle segments if needed.
There are two sets of guides: Thirds and Fourths corresponding to the “3 block” and “4 block” settings of Split This!
You can set the Border Width.
You have the option to color the borders with a solid color or a gradient (not shown — there are not OSCs for this yet, but if it becomes a popular option, those may be added later.)
The Fade In/Out animation is automatic — just set the timing!
Drop Shadow is consistent with all drop shadows.
Border Creator
Which lines are active is dependent on the Thirds Guides and Fourth Guides settings. You can have all lines on at once! (And there can be reasons for this!)
You can move the individual lines portions of the screen at at time and use them to make not only grids, but just arrangements of attached lines.
The V lines parameters will slide them up or down; the H lines parameters will slide them left or right. Each line snaps according to their assigned screen dimension.
Layouts can be a combination of thirds and fourths, for example: clips stacked in thirds vertically, can be 1/2 side by side horizontally. There are more layout combination possibilities than can be listed here.
Addons
Included with this package is Inner Shadow which can be applied to individual clips to give them an “Inset Look.”
Also included is a set of transparent PNG “blanks” of a wide variety of common aspect ratio formats so that you can apply one border effect over a stack of clips particularly useful if their starting and ending lengths are staggered.
If clip staggering is not necessary, Borders can be applied to the topmost stacked clip. They can also be applied for each clip separately… but that’s a little more complicated.
Aspect ratios range from 9:16 (vertical video) to 4:1 (ultra widescreen).
When mixing letterbox aspects with HD, set the Spatial Conform to Fill.
These effects can be used with Images, Titles and Generators as well.
Using with Titles and Generators
July 21, 2022 — added Split This! – Title Fixer. When using Split This! with a Title with no background (like Basic Title), the text will repeat over the entire “crop” area of the effect. Add Title Fixer and move the effect to the top position in the Effects Inspector to eliminate this occurrance (unless you want it that way!) If any other media exhibits this repeating “phenomena” — use Title Fixer to fix that too!
[You can move any effect to change its order by clicking on its title bar and dragging it up or down in the Effects Inspector.]
These effects, when added to Titles or Generators will base the 3rds and 4ths on the **project size**, not the media size. If you have different aspect media in the storyline using these effects, to better match the clips, use a matching PNG aspect blank, especially with Borders.
Demo:
Keep up to date with Sight-Creations on Twitter.
A good place to see all of my effects as well as several tutorials and other demonstrations in use is on my YouTube channel.