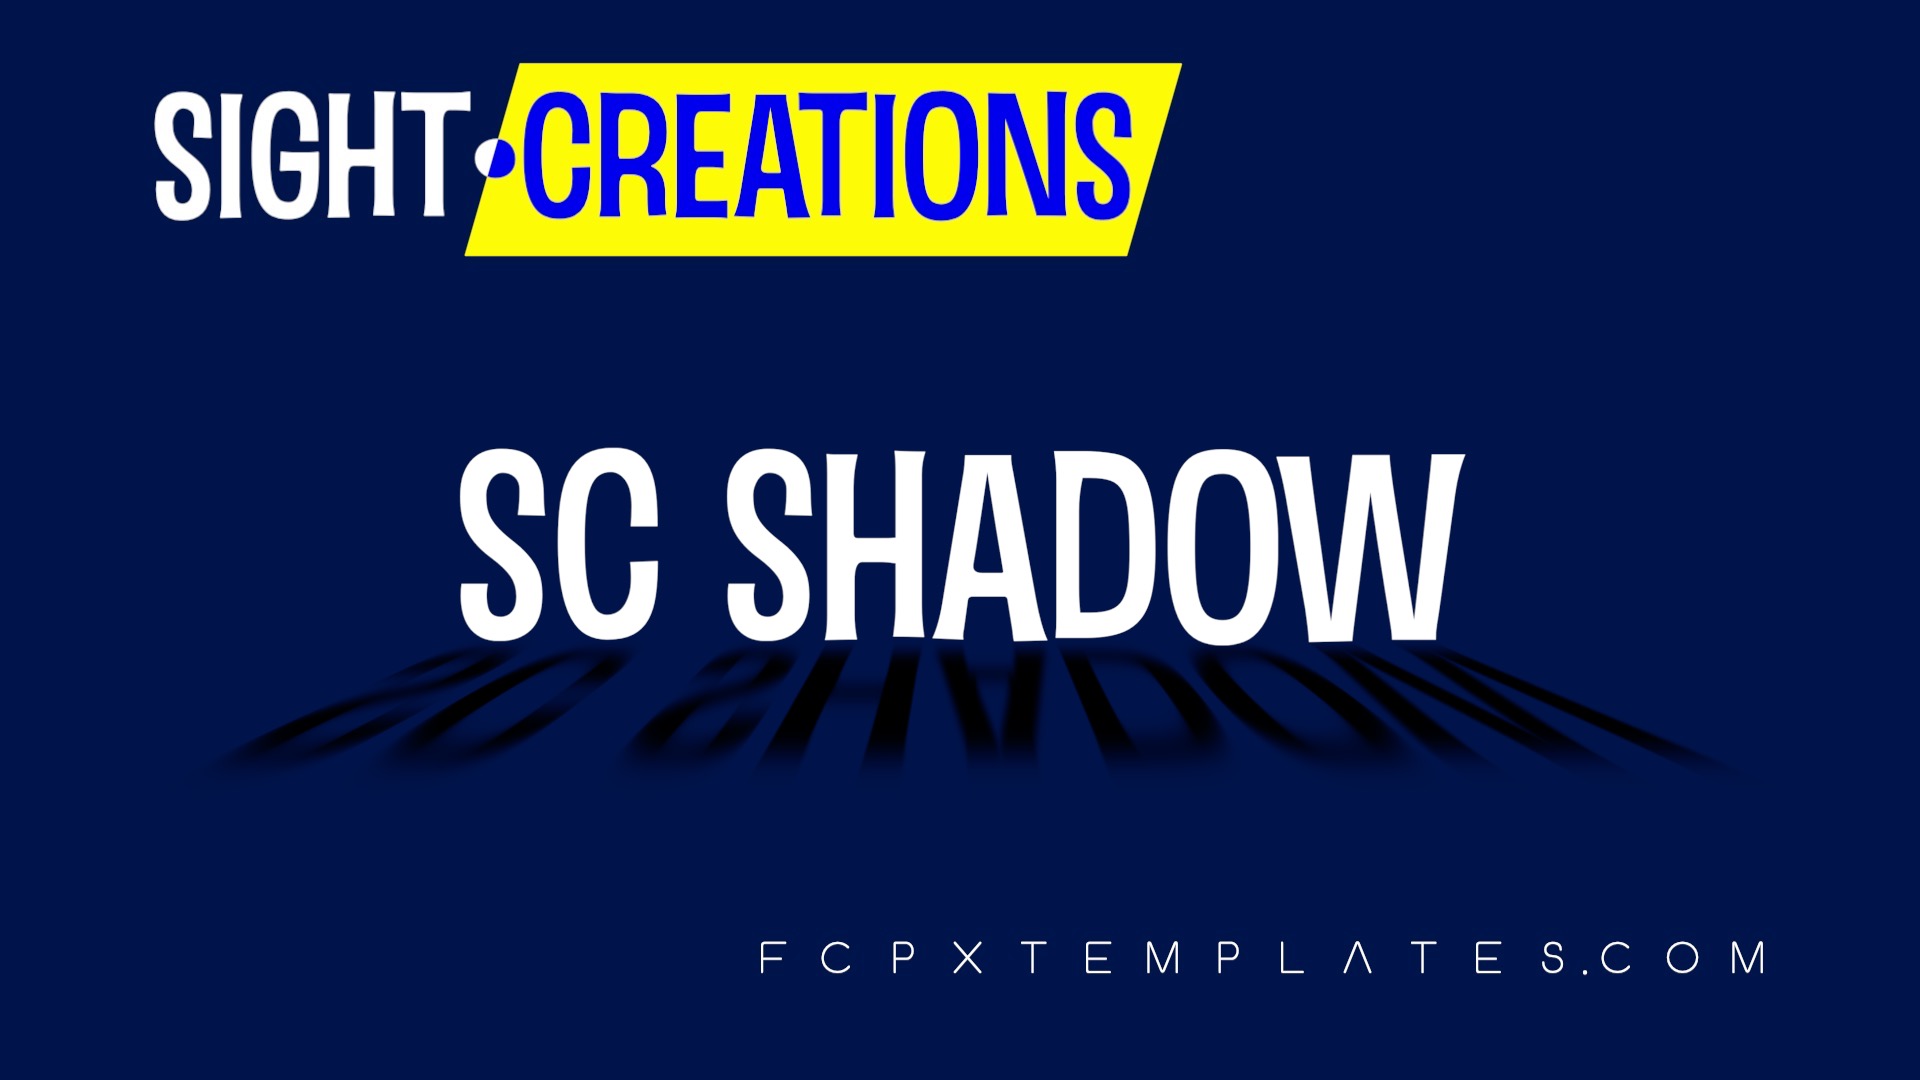
Customize how shadows work with SC Shadow
SC Shadow uses the source media’s shape to produce a shadow. You will need to provide an Alpha channel for Shadow to work. Typically, keying a green screen or applying some kind of masking will create alpha.
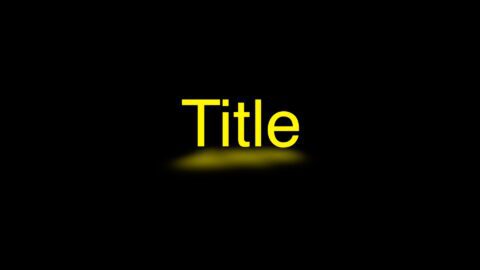
Shadow color is created either by a solid fill (Color) or a Gradient. Using a gradient will allow you to vary the intensity of the shadow over a distance (just like in real life).
Although you can create a gradient opacity, a separate Opacity parameter is provided, primarily for the Fill Option, but can be used as a global opacity with a gradient.
Shadow Position is the transform control for the shadow and Offset Source is the transform control for the original media. This is individual control over both parts of the effect!
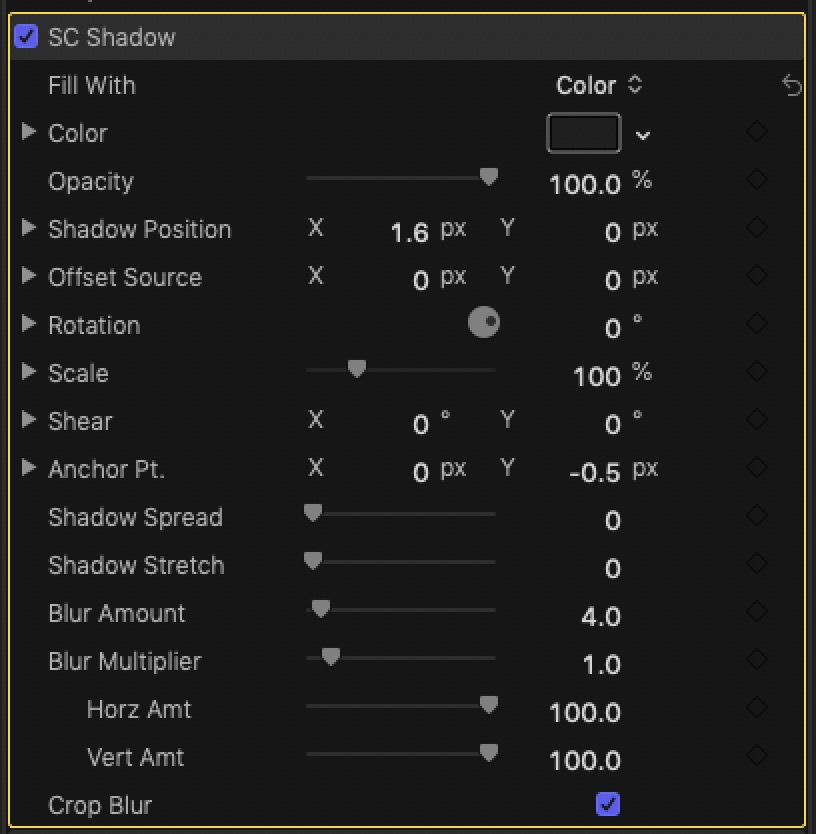
Rotation can be used “lay” the shadow upon an apparent, sloped surface. Typically, the Rotation X parameter will be used and it can be accessed by dialing down the disclosure triangle to reveal the individual parameter.
Scale can be used to stretch the shadow in directions, typically in the vertical direction. Again, dial down the disclosure triangle to reveal the individual options of Scale.
Shear is a great way to make a shadow look “directional” or angled along a perspective.
Anchor Pt is an important reference point around which transforms occur. There is an OnScreen Control to facilitate positioning the Anchor Point.
Anchor Point will play a significant role in positioning and distorting the shadow. Typically, the Anchor Point should be at the bottom center of the object casting the shadow (corrections can be made with position parameters as needed.)
SC Shadow allows for distorting the shadow — think: a low light source that is close to the subject. Shadow Spread will widen the furthest (or top) parts of the shadow and Shadow Stretch will elongate the shadow vertically.
The last parameters control the Blur. There is a Blur Amount and a Blur Multiplier. Use these in conjunction with each other if you like. They can be keyframed to create “sharpening” or quick blurring of the subject. Horz Amt can be used to contstrain how much horizontal blur is applied and Vert Amt can be used to constrain how much vertical blurring is applied. You may never use these, but they do serve a purpose!
The Crop Blur parameter will become important if you need to define an edge (on) to the blur or soften an edge (off) when repositioning or moving a shadow near an edge of the original media.
Keep up to date with Sight-Creations on Twitter.
A good place to see all of my effects as well as several tutorials and other demonstrations in use is on my YouTube channel.

