Pattern Maker User Guide
Another way to edit video
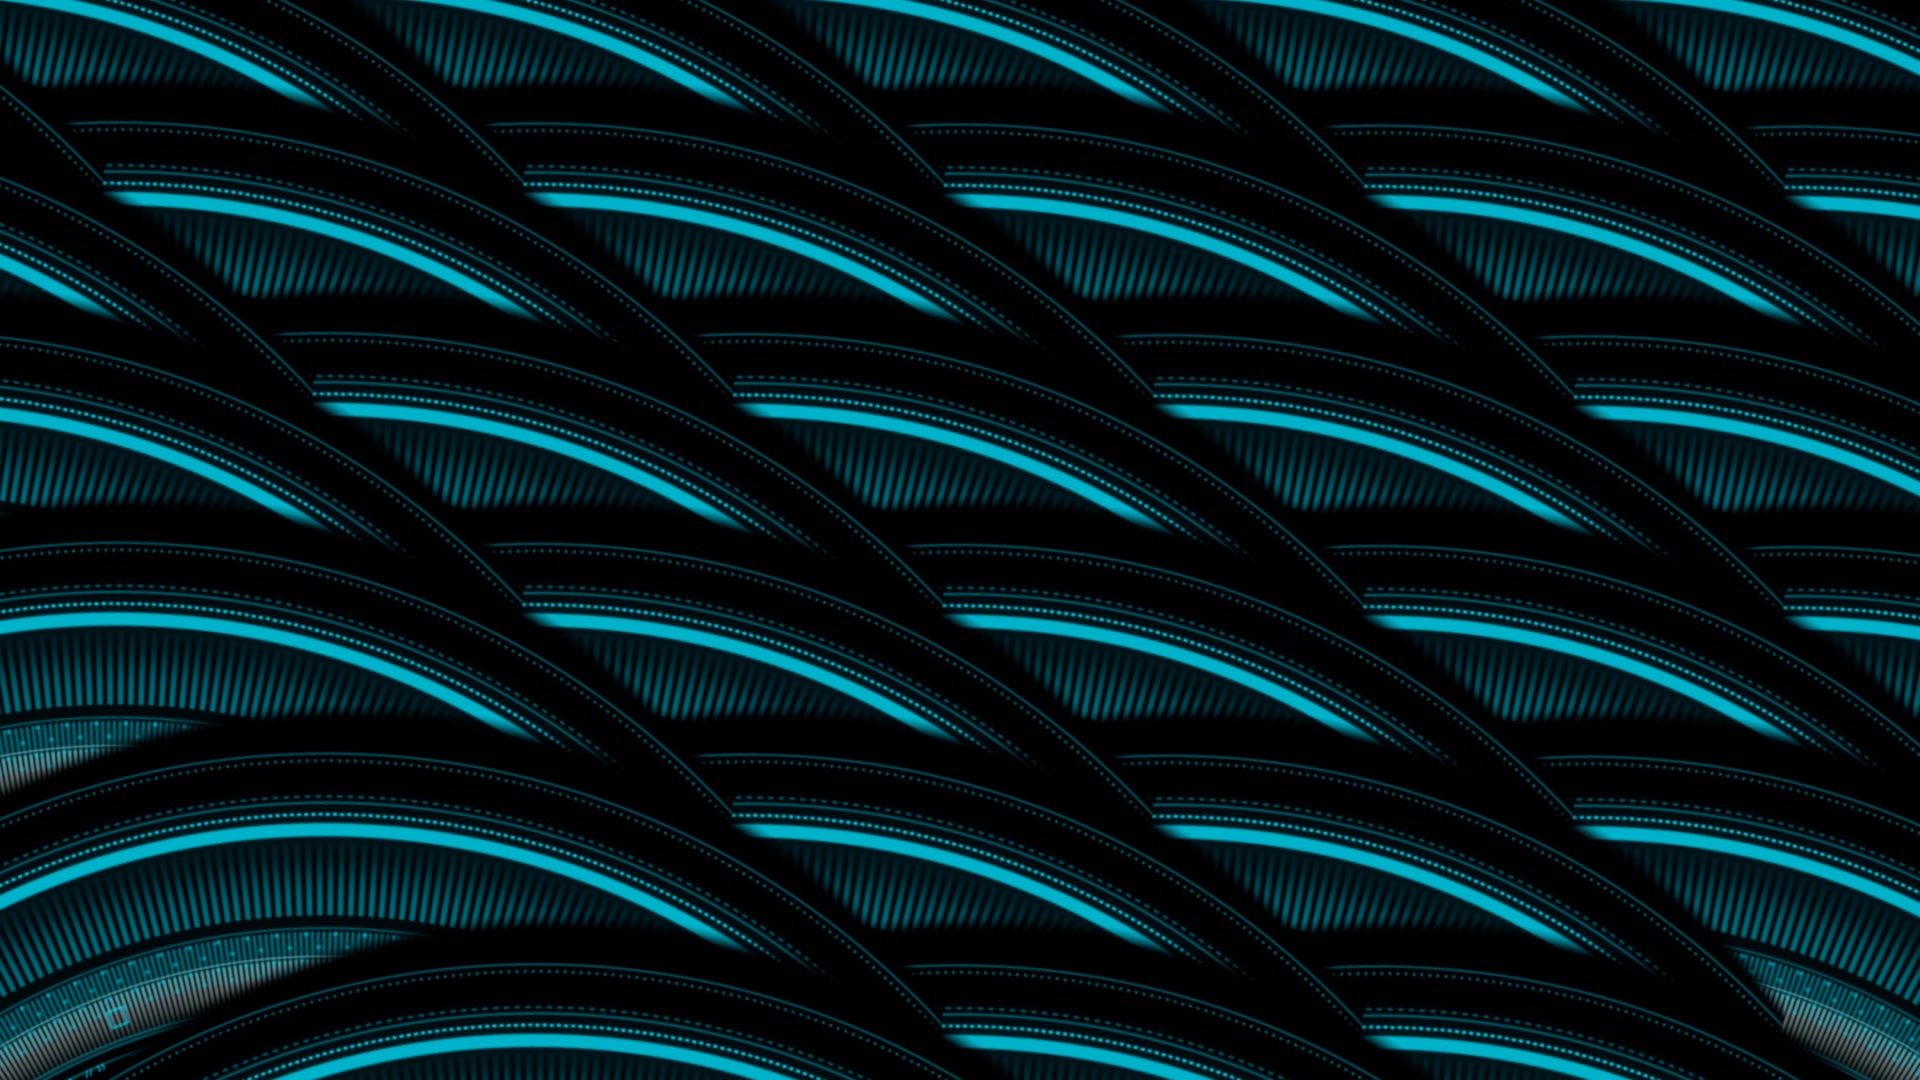
Patterns, motifs, and repetition are important tools in the design arsenal. Patterns are visually interesting and a method of taking mere imagery into the realm of art. How, where and why you use patterns is up to you. Some basic ideas are for title card backgrounds and fill replacements (e.g. sky) using Effect Masks. Since Pattern Maker is an effect, it can be used with titles to fill text with video patterns!
Let's start by looking at the parameters:
The major sections have icons to mark their beginnings. At the top are the Visibility Cntls (controls). Pattern Target is on by default and must be turned off when you’re finished with it or it will be rendered into the video. The Drop Zone parameter allows you to add a separate clip to your storyline clip to be used as a Pattern Source. If used, then the Drop Zone Media checkbox should be activated. If you do not use Drop Zone media, the default media is a transparent PNG and it won’t matter if the checkbox is active or not. The Original Copy checkbox, when activated, is used to display the pattern of the storyline clip. Turning it off will assist in using the Pattern Target OnScreen Control to target the source for your pattern.
The next section concerns the Drop Zone. This is an optional feature and if not loaded, it doesn’t matter if your turn on its visibility or not. The Drop Zone itself is filled with a transparent PNG (even though it says “No Source”). If you do fill the Drop Zone and then “Reset” the parameter, it will reload the PNG. The Pan and Scale parameters are included for media that’s larger than the project size (e.g. 4K media in a 1080 project). Pan allows you to reposition the media in its “viewport” and Scale allows you to resize the media however you like.
🔶 Cell Controls
Pattern Size % requires some explanation. When you make a selection with the Pattern Target, it creates copies of that selection over an area. That area is twice as wide as the project and as tall as it is wide (square shaped). This allows the patterning to be rotated without showing an outer edge. Pattern Size allows you to reduce the overall size of the pattern area to 50%, simultaneously reducing the image sizes for each of the repetitions.
The Image Scale is the size of the copied repetitions. By default, they are set to 50%. With the default number of repetitions and the original default pattern target size, you should have an instant pattern.
The Repetitions √ parameter represents the square root of the number of image repetitions. There are always the same number of repetitions across as there are down. The slider goes up to 20 but clicking on the value and dragging up or down can increase or decrease the number of pattern segments. (Larger numbers will slow down rendering and the maximum can be just about anything but should be restricted to no more than about 50 or so.) You will probably find that 20 repetitions will be more than enough most of the time.
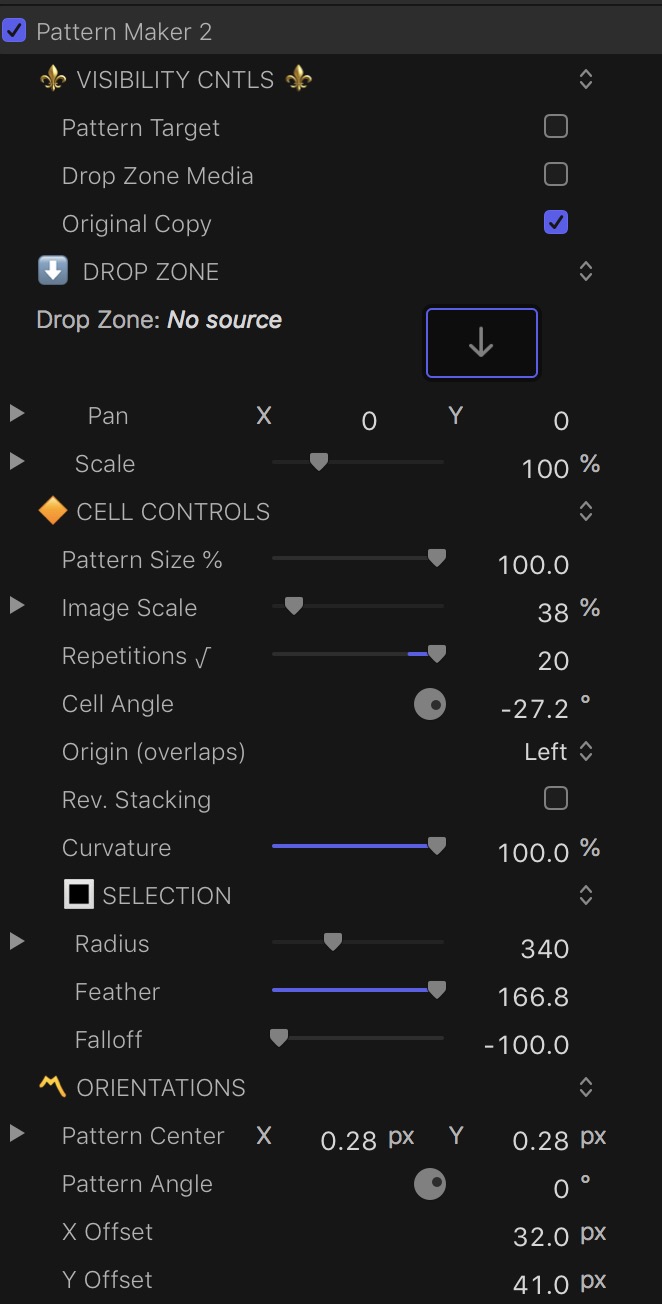
Cell Angle allows you to rotate the image copies to any orientation you like.
Origin Overlaps is a drop down menu to determines how the images are arranged. For example, selecting Center, the first one drawn is the one nearest the center and all the others are drawn around the center until all are drawn. Wherever there are overlaps, this order of application will determine which portions of the neighboring images are overlapped. There is an accessory parameter called Rev. Stacking (Reverse Stacking) that will complete change the order of drawing that results in the exact opposite effect.
Each image repeat is a square by default. By increasing Curvature to 100%, you can change the shape to a circle, or any rounded rectangle shape in between. This option will help out considerably when going for “seamlessness” in the pattern expacially when using Cell Angle.
🔳 Selection
This section determines the shape size and feathering of the selection. You can dial down the disclosure triangle on the Radius parameter to reveal X (Width) and Y (Height) variations if you want to select an oblong region.
The OnScreen Control shows the region (Radius) selection as well as the Feather region around (or within) the selection region. What isn’t displayed is the Falloff. Falloff is a little difficult to explain. If Feather is an “even” gradient of opacity from fully opaque to fully transparent, then Falloff moves the “middle” of that gradient… that is… if the Falloff is between zero and the size of the feather. Going beyond those “limits” creates some interesting side effects but usually you will find a new “hard edge” as if feather wasn’t even used and its boundary will be the same as the feather’s edge.
〽️ Orientations
The Pattern Center is the center of the Radius, or the center of your selection for your pattern choice. This parameter can be keyframed to change your pattern over time. It is a marvelous effect when done well.
Pattern Angle rotates the entire pattern (as opposed to Cell Angle above). Use this in concert with Cell Angle to change the orientation of the individual cells so that the images can be reoriented no matter what angle the entire pattern graphic is set for.
The last two parameters are the X Offset and Y Offset. These are the center of the entire pattern/group of images. The Pattern can be moved so that it images can be re-centered to assist positioning in cases of placing in a masked region in your video.