Making Confetti: an Apple Motion tutorial
[Note: this is a response I gave a questioner recently on Apple’s Support Communities Motion forum.]
Little bits of paper do not fall in the real world flat, vertically. They “flop”, follow invisible currents and eddies in air flow to push and flip them and create *seemingly* random motion. The problem with emitters is: everything is emitted in exactly the same way… unless…
One of the features of Emitters (and Replicators) is that they can be made to Play video (image sequence) frames with the option to start playing on a random frame in the “sequence”. With that in mind, all we have to do is create ONE shape with the motion animation we need. We will rely on the emitter to start playing that sequence on a random frame within the sequence.
All objects in Motion (with the exception of Camera and Lights) must exist inside a Group. The initial shape you create will automatically be placed within a group… perfect. It often helps (most of the time actually — and this is a good habit to get into) to center the shape in the canvas. Go to Properties > Transform and on the right edge, disclosure mark > select Reset Parameter. That will center the object and reset its Rotation, Scale, Anchor Points etc.
Groups can be 2D (and 2D Fixed Resolution) or 3D (plus other options which are relatively, largely, unimportant… for another time.)
Set the Group to 3D. [Inspector: Group: Group Controls: Type: 3D — or, just click on that little icon on the right side of the Layers List column – 2D groups have 2 side-by-side rectangles with a bar overhead and 3D groups are like a stack of 3 squares rotated in 3D space. Clicking that icon will toggle the state.]
We’re going to use behaviors to control animation because it makes it easier to make alterations to suit our needs at any time.
Start playing your project.
To your shape: start by adding a Behaviors > Basic Motion > Spin behavior. The default spin is around the Z axis. Increase the Spin Rate to 135-180º (come back to these later to tweak these values for the look you’re going for.) Go into Properties and for the Anchor Point, offset the X to say 30 or so, Y to 60 or so, and Z to 150 or so (the actual values will depend somewhat on the original size of your shape). [Your Shape size can be anything – it can ultimately be controlled within the Emitter/Replicator.] The Anchor Point is the point around which all Transform properties are centered and which animation originates. It is a convenient way to create “orbital” rotations instead of simple spins.
Add another Spin Behavior and set the Axis to Y. Set the Spin Rate to 100º give or take.
Add another Spin Behavior and set the Axis to X. Set the Spin Rate to 135º give or take.
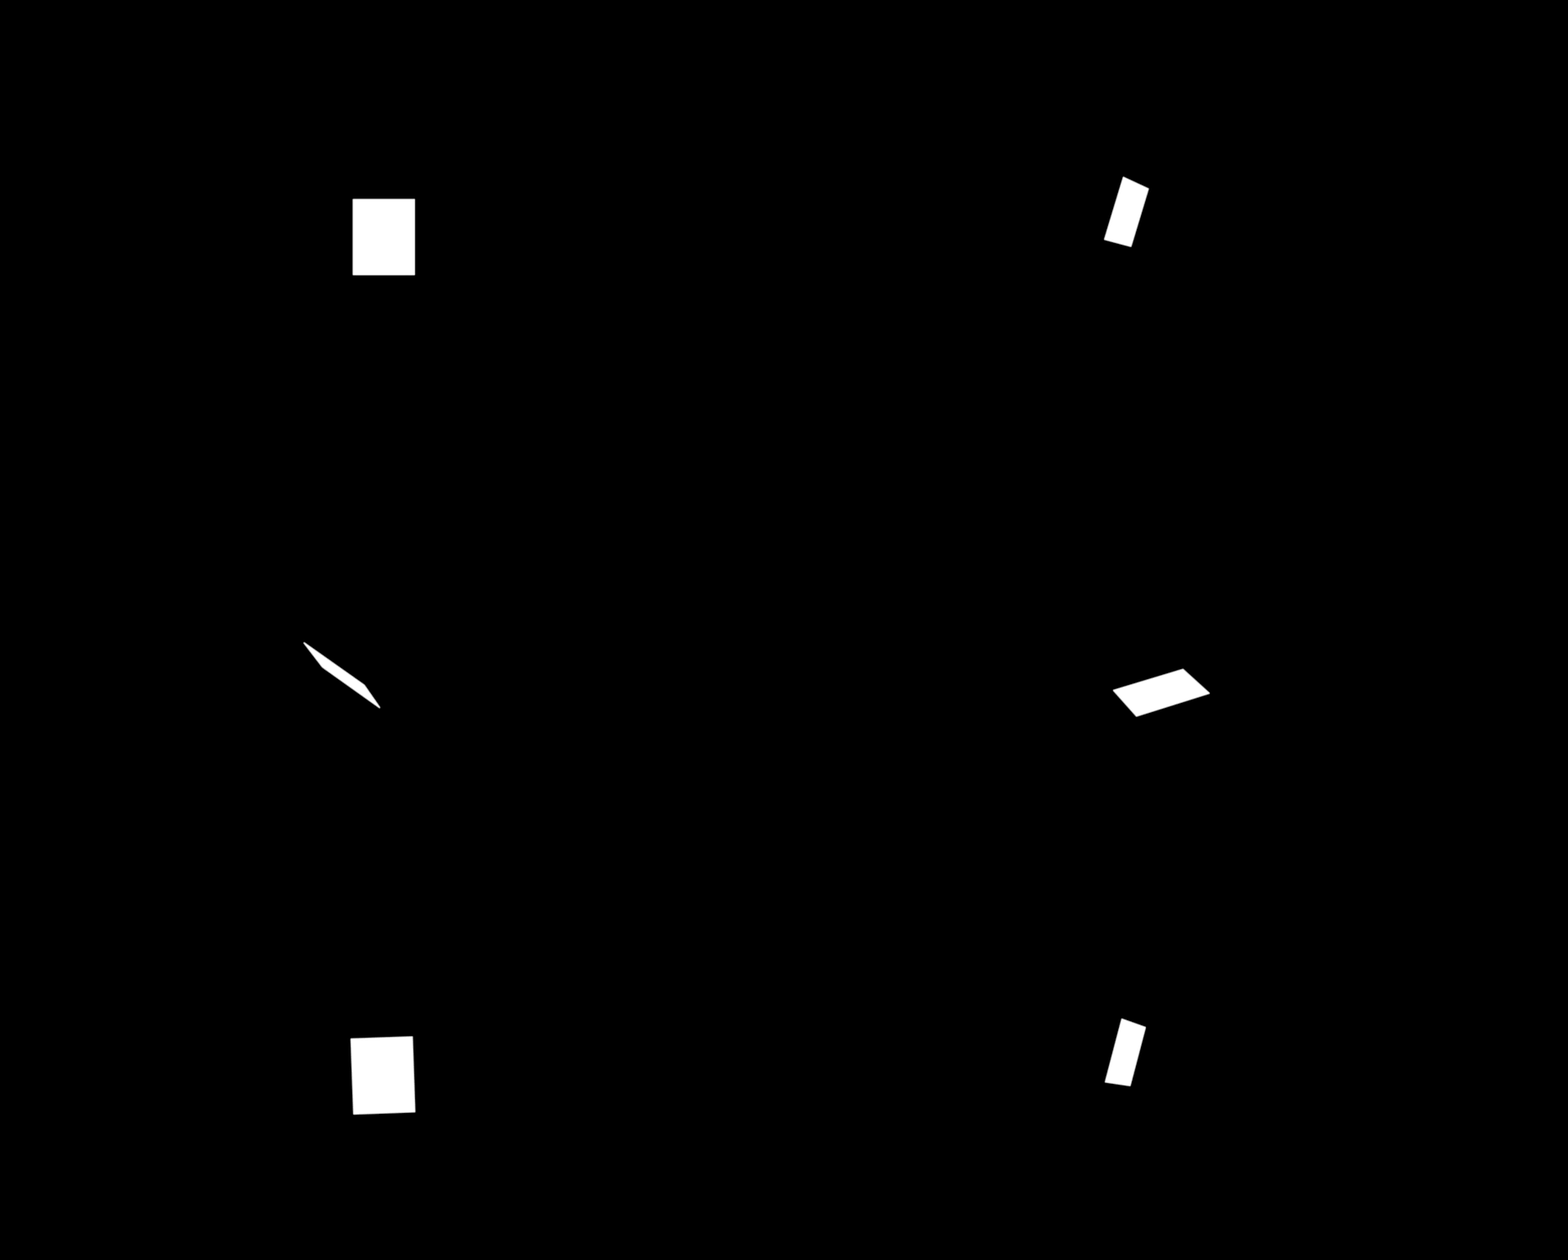
You should get something like:
[The shape I used IS a circle, but I later changed the Shape > Geometry > Curvature to 0 to create the rectangle shape. You can adjust that to anything in between.]
That’s pretty good, but it’s still going to look a little weird when all the pieces are doing that same action and — it’s “too regular”. Let’s move on
Go to the Properties inspector and for each Rotation (XYZ), right click on the parameter and Add Parameter Behavior > Oscillate.
Start with these settings (and experiment afterwards):
For (rotate) X: Speed 16; Phase 13
For Y: Speed 37; Phase 11
For Z: Speed 35
[Leave all other parameters at their default]
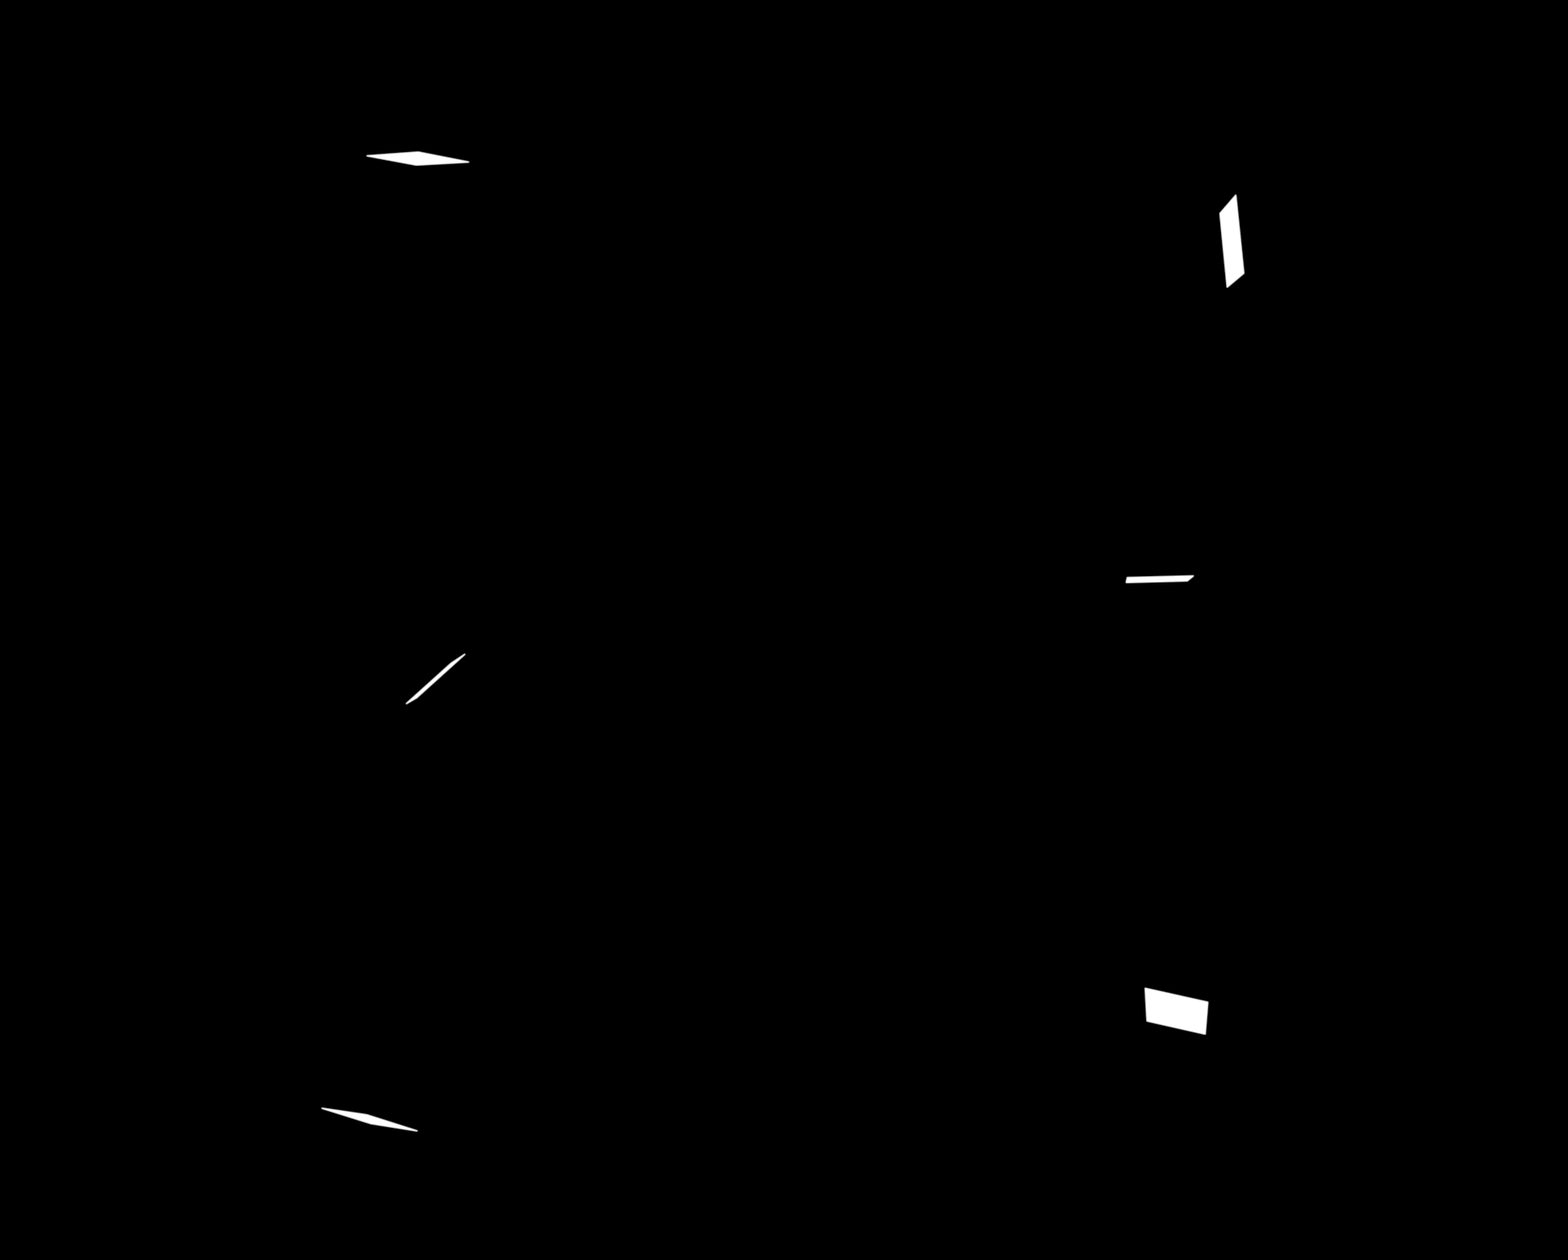
At this point you get something much closer to realistic motion (barring gravity):
This animation is not exactly looping – I just cut it this close.
This is the “particle” we will Emit. (What’s the word for one piece of confetti? Confetto?)
Select the Group level of the shape and type K to create a Clone. Clones are like inline image sequences and emitting them will provide us with extra parameters we can exploit [Play Frames and Random Start Frame, etc]. Clones are also somewhat flexible since they are created “in real time” and they are the *entire animation from beginning to end* as one “thing”. With the behaviors animating a shape, the “length” of the existence of the shape is not fixed… so to speak… very difficult to explain, but if you keyframe this kind of animation, you would detect an “animation seam” [start/end difference] but behaviors will progress smoothly even if the “life” of the object has technically ended. [Don’t think about it too hard – just keep it in mind for later projects.]
Turn off the visibility of the Group containing your animated shape [Uncheck the checkbox on the left edge in the Layers List]. It does not need to appear during playback. (You cannot delete the group – any changes you make to the group or anything within it is immediately reflected in the appearance of the Clone! Clones are not a “snapshot” – they are “living, breathing” objects… although a 2D flat projection of its original.)
With the Clone selected, type E to create your emitter. [The Clone layer should automatically deselect visibility].
Set the Shape to Line; Start Point X to -1500; End Point X to 1500 (allows some “wiggle room”).
Check 3D.
Emission Latitude to 270º [downward motion]
Emission Longitude to 0
Emission Range – 90-120 [flexible]
Turn off Face Camera!!
Cell Controls:
Birth Rate 0
Birth Rate Randomness 60 [flexible – go lower]
Life 10 (or the number of seconds that equals the length of your project… or greater.. but not much greater!)
Speed 350
Speed Randomness 150 [Again – flexible values – season to taste]
Color Mode: Pick From Color Range
Choose a Rainbow like gradient from the Color Range (or create your own gradient).
Adjust the Scale and Scale Randomness to give some “depth” to the effect. [Actual values will depend on the size of your original shape.]
Make sure Play Frames and Random Start Frame are selected
As an option, increase Hold Frames Randomness to 2.0
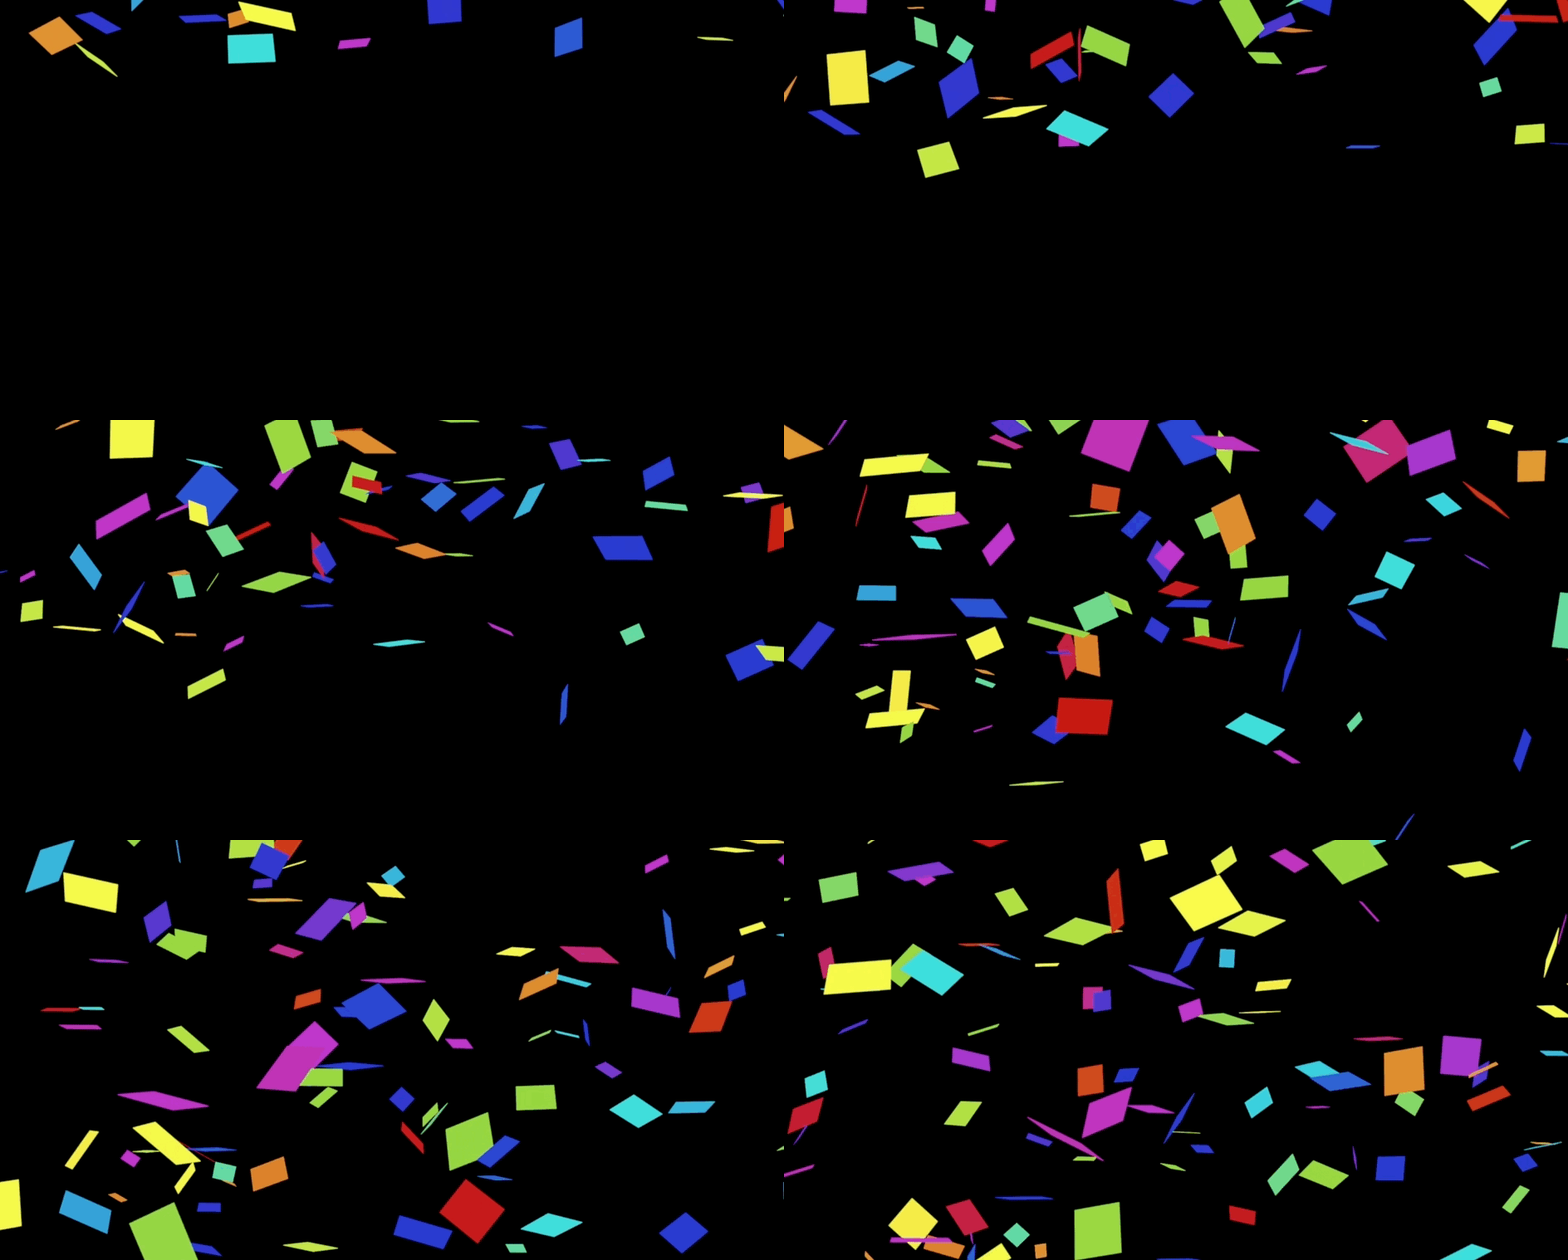
You should end up with something like:
Which looks like fairly convincing confetti (the GIF is a low frame rate). All the particles appear to move in their own random motion due in large part to the random start frame in the original animation and due to the way behaviors affect objects vs. keyframes. There are no apparent “loop points” [end of sequence jumps to beginning of sequence].
Is this the only way to do this effect? No. It is just a method I prefer. Other options might include Random Motion simulation; Wind and Gravity are possibilities; Randomize or Wriggle Parameter Behaviors on Rotation XYZ params, etc. or simply keyframing an animation and emitting it in this manner (although I wouldn’t recommend it).


