Flipping Tiles
I liked this video:
I appreciate any work done in 3D in Motion with text. That takes dedication.
I have often said that there is often no “one way” to do things in Motion and I would like to offer an alternative approach to this effect.
First, I’ll offer this font:
https://fcpxtemplates.com/free_stuff/AllSquaresFont.zip
[Install the font with Font Book and you will have to restart Motion to use it.]
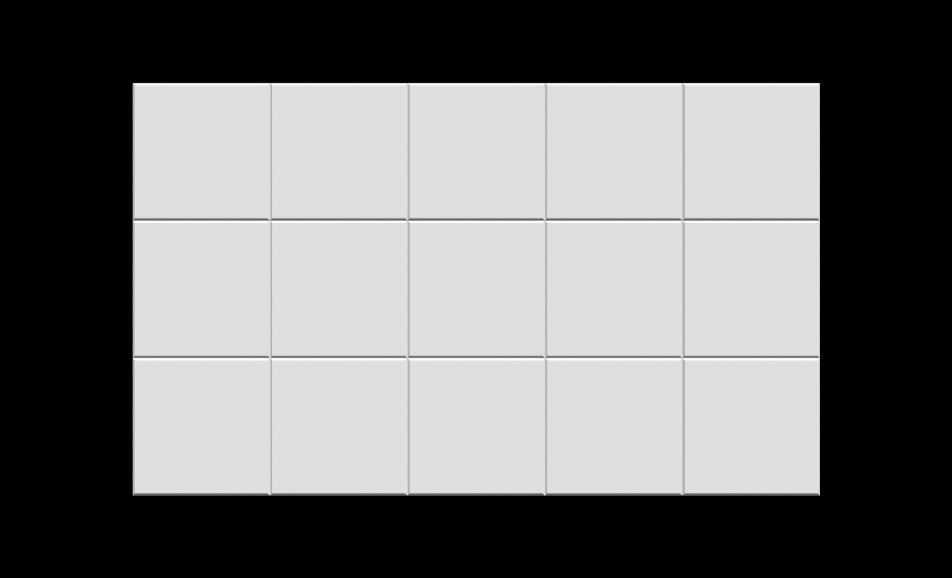
It was used for a Scrabble effect a few years back, which isn’t important. What is important is that every printable character is a perfect square. The descender and ascender are equal heights and the character has no side bearings so that the characters are perfectly enclosed in the font square. Typing any set of letters creates squares that touch left and right and the mid point of the *center aligned* character is dead center making rotations through the center automatic and not requiring any adjustments to anchor points or baseline values. That means, starting this project is simply a matter of typing any five characters, Return, any five more characters, Return, and finally five more characters. For this alternative demo, I used:
asdfg
asdfg
asdfg
as one single text object. Five characters (tiles) across by three lines.
Import two video or image sources. They should both be the exact same size (typically 16:9 aspect dimensions). I set up this project as 1920×1080. Imported two videos into their own 2D Fixed Resolution 1920×1080 group. Fixed Resolution is important when dealing with 3D Text “textures”.
Set the Material to Multiple. You can dress up the inner three surfaces with any material you like.
To create the Front side image/video is simple. Set the 3D Text > Substance to Generic > Image and in the drop well, place the first (front) video. Dial down the Placement and adjust the Scale and Position. All the characters *share* the image as one texture. There is no need to add the image to each individual character and align it! This side is done!
To create the Back side is a little different since the squares are flipping upside down — and by row! One way (because there is more than one way to do this) is to place the second (back) video into another group inside its parent.
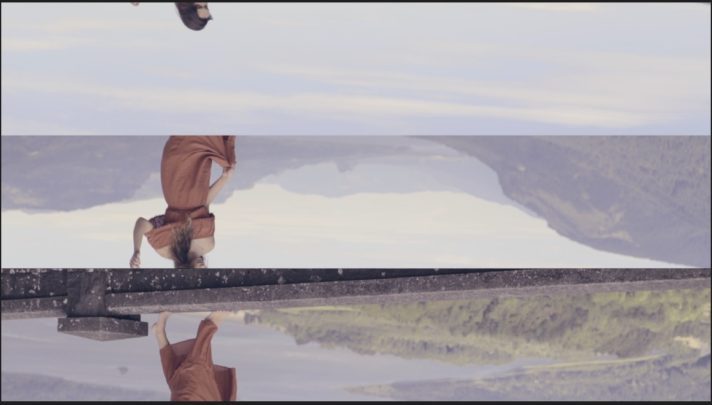
Turn the video upside down (Rotate X by 180). Set the Group to 2D Fixed Resolution 1920 by 360 (the middle strip — 360 is 1080 divided by 3). Duplicate the Group twice. For one of the groups, set the Position Y of the video to 360 AND the Position Y of its Group to 360. For the last piece, set the Position Y of the Group and the Video to -360. You should have something like this:
Select the Group containing the video piece groups and Clone it (type K). Using a Clone is one way to reassemble multiple layers into a single layer object. Turn off the Group containing the upside down thirds. Apply the Clone layer to the Back Substance > Image > Image Options > drop well.
For this stage, it is important that you get the correct Scale of the image and the Position Y to line up the 3-banded setup on the backs of the square characters. [If you use my font, I set the font size to 178: that makes the Scale (with the Scale with Font Size option checked) to 20.0% and the Position Y to -72.8.
Setting up the animation.
To the text object, add a Sequence Text Behavior and Add a Rotation. Set the Sequencing to From Keyframes and Animate Character (without spaces). Set the Spread to 10 or 11 and the end offset to control how fast you want the animation to progress.
Right click on the Rotation X parameter and Add Parameter Behavior > Overshoot. Set the End Value to 180, Ramp Duration to about 20%, Cycles to 3.5, Acceleration to about 50% and the End Offset to the same value as you used for the Sequence Text behavior. (These two behaviors should have the same length as the text object.)
If it all works out right, you should end up with something like:
Play with the Overshoot and Sequence Text behaviors to tailor your effect to your liking…
This technique should save you tons of time if you decide to increase the number of Text Tiles you use. However, if you increase the number of rows, you will need to cut the back side image into the same number of slices as lines of text you use.
Keep up to date with Sight-Creations on Twitter and Facebook.
A good place to see all of my effects as well as several tutorials and other demonstrations in use is on my YouTube channel.


