
That is the fundamental, simple workflow. Experiment with all the rest. The parameter descriptions below should give you enough information for how to proceed.
To copy the settings from one instance of Fiesta to others, simply option-drag a copy to another location in the storyline. To Save a set of parameter settings, create a Compound Clip to use later.
Parameter Descriptions
Main Controls
Title Opacity: This parameter controls the overall opacity of everything in this title. It is helpful when animating the contents directly forward or directly backward into the scene.
Text Coloring: Although initially set to a single color, this control is a “Gradient” control which includes Opacity. The default setting for new color additions is “Constant” which will create a “banded” look. This setting can be changed any time and for any color swatch by changing the Interpolation to Continuous. Dial down the disclosure triangle to reveal the gradient parameter controls.
Animation Controls
Direction In/Out: Presented is the Z axis direction control. 0° is straight up, 90° is due right, etc., so the angle is with respect to the line coming straight out of the screen. Dialing down the disclosure triangle reveals X and Y axis directions. X is left/right and Y is up/down. Move the playhead to near the beginning of the title in the storyline to manipulate these values to determine from where the title moves into the scene. As an example, the default direction is from directly up. Increasing the X axis rotation to 90° will cause the starting position to be directly away from the viewer and -90 (or 270) will start the title behind the viewer (off-screen). Use Y axis rotation will move the starting position left or right of the center line. It is best to position the playhead and watch where the title moves as these values are changed.
Amplify Direction: The default amount of movement is from just outside the bounds of the video frame. When animating from away or behind the viewer (you), it becomes necessary to lengthen the amount of “distance” travelled. This parameter will make the animation both faster and have the effect of making it travel farther by up to 400%. Keyframe the Title Opacity to help fade the effect for distance.
Start X/Y/Z°
End X/Y/Z°
These values can be used to set the starting and ending orientation of the Title with respect the the plane of the Viewer.
Randomness
Position Amount: How much the title moves around the center point
Pos. Freq.: How often the movement changes (randomly – based on “seed”)
Pos. Noise: How *severe* the changes will be
Pos Rand Seed Click the ![]() to create a new random value or double click the number and type in your own.
to create a new random value or double click the number and type in your own.
X/Y/Z° Rot. Amt: How much the Title rotates
Angle Freq: How often the rotation changes
Angle Noise: How severe the changes will be
Angle Freq and Noise control the settings for all three rotations.
Angle Rand Seed: This is a slider with 20 different random seeds. This will help setting up how the title looks at a particular point within the animation. Set the Playhead at a specific point and use this slider to set the randomized angle at that point in time.
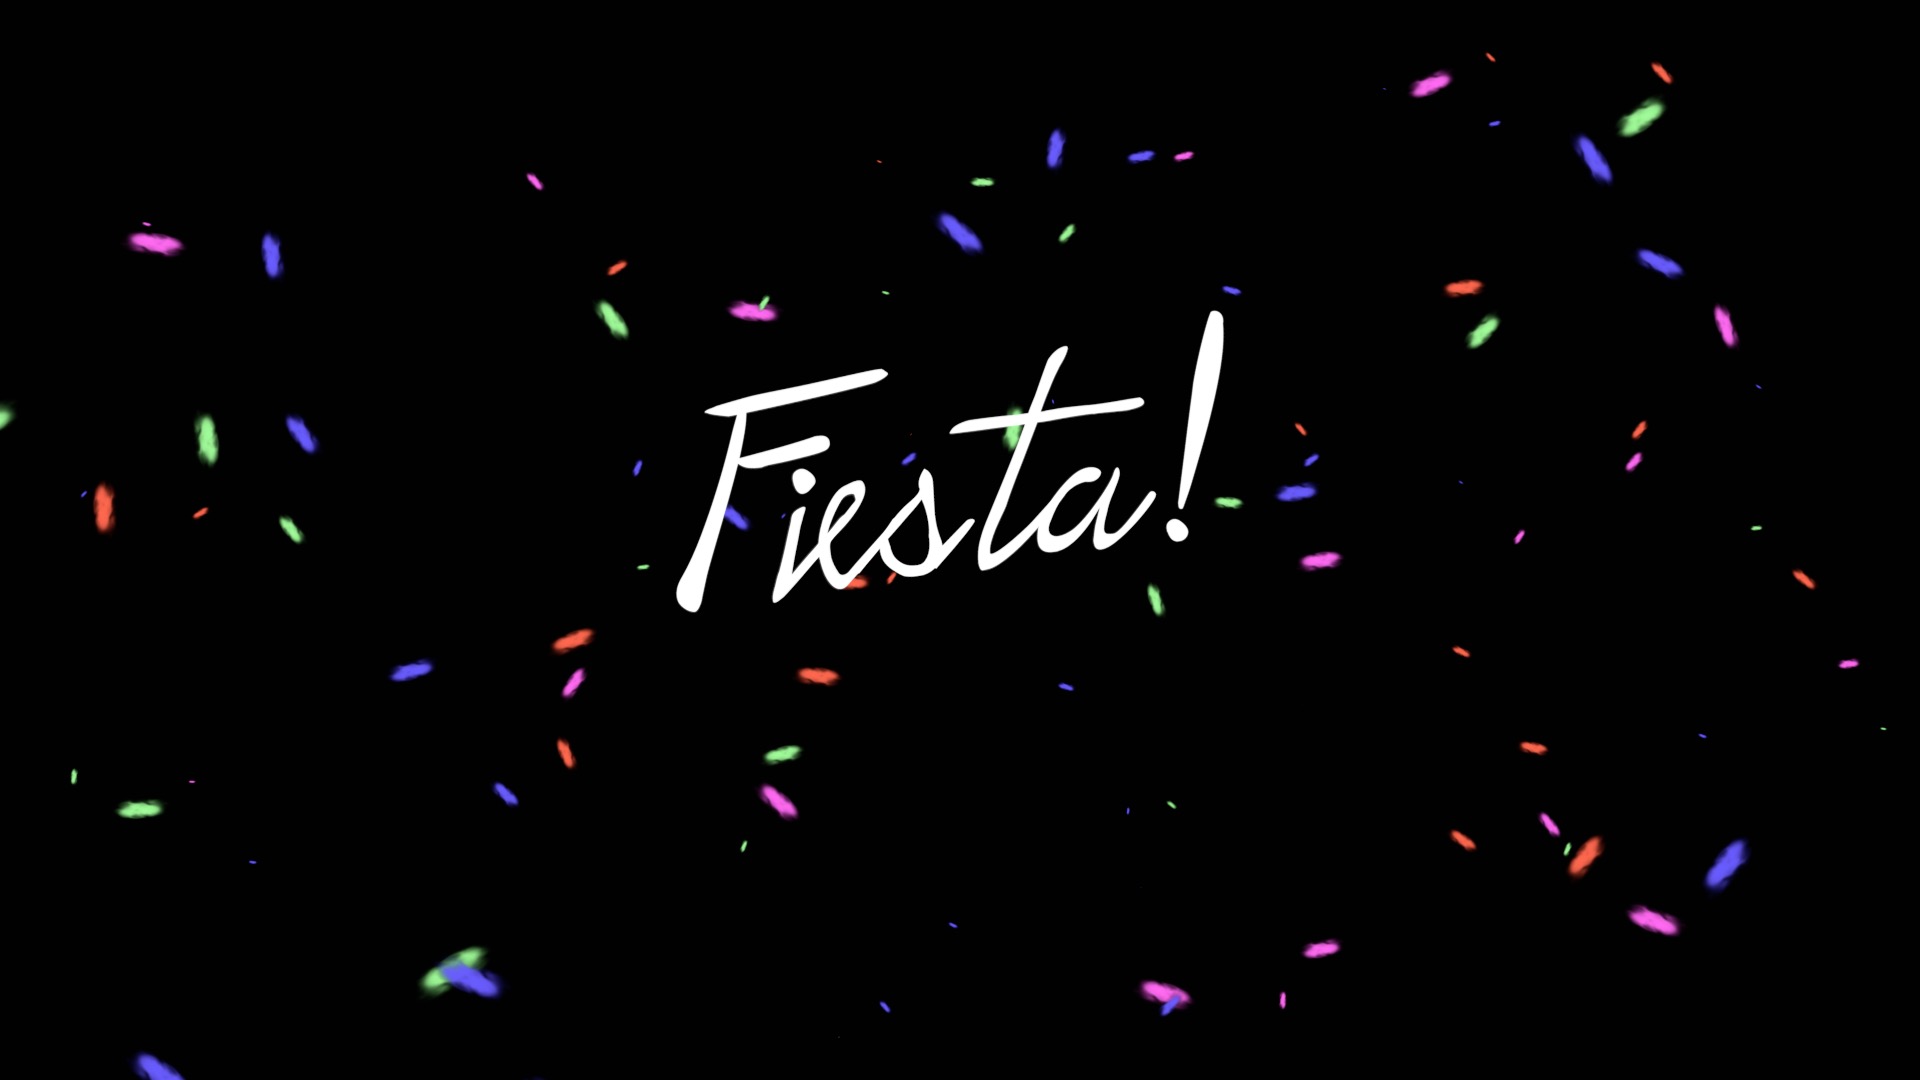
Spot Generator
Spots: The number of spots generated
Scale Randomness: The randomness of the size of each spot generated
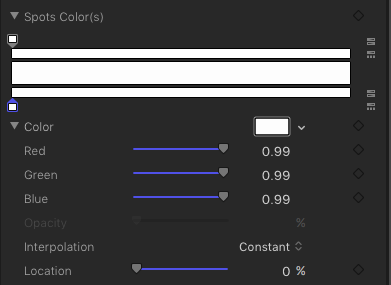
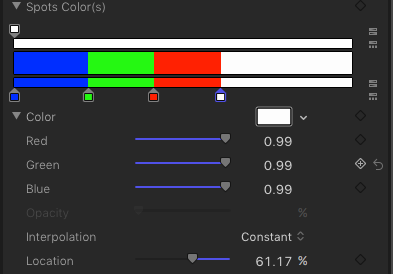
Spot Color(s): A gradient tool like the Text Coloring, pre-set for Constant color change. Simply keep adding colors to the gradient as needed
Randomize Spots: Randomizes the positioning, scaling, and coloring of the spots.
Text Controls (For your convenience – duplicated in the Title Inspector)
Text: the copy of the text in the title
Collection: if you organize your font into Collections in Font Book, those collections can be selected here (this is NOT a feature available in the Text Inspector!)
Font
Size
Line Spacing
Tracking
Baseline
Drop Zone Controls
Use Drop Zone: This will turn on or off the drop zone.
Drop Zone: The drop zone, by default, is filled with a transparent PNG. It will not appear even if the Use Drop Zone option is selected until you change to content to another clip or image.
Scale: By default, the drop zone is full screen. This value can be used to scale down the media
Pan: This value can be used to offset the media from the drop zone center.
Scale and Pan can be used to shrink and position images or video in your title scene.