
Waving Flag 2.1 User Guide
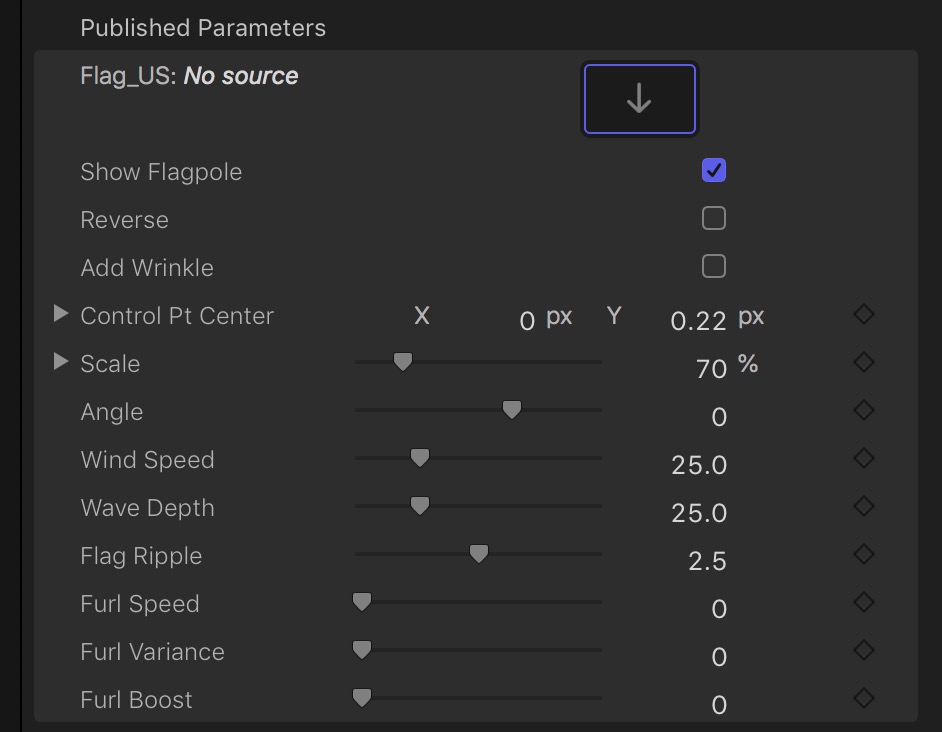
First, take a look at the parameters in the inspector:
At the very top is a drop zone, showing “No source”. Actually, the drop zone is preloaded with the US Flag image. Since this is a drop zone, it can be used to change the flag to any image or video clip you like. The flag size is 1920 x 1010. 1080 media will fit into the area rather well with minor clipping from the top and bottom of the image. There is no way to crop or reposition the image/video in the drop zone region (this is different than standard drop zone behavior in FCPX.) It’s simply the way the generator was designed.
The flag image for this effect was created with shapes in Motion. All the colors were matched to the “official” color guide for the flag. That said, it would look considerably better if you had an image of an actual cloth flag (laid out “square” would be best).
If you need to change the drop zone content from whatever you have applied back to the US Flag, simply click the small X next to the drop zone, which appears as you mouse over it, to reset it.
In the demo video at the bottom of this page, the transition flags were created using Compound Clips with the transition built into compound clip setup and the compound clip applied to the drop zone. Occasionally, if taken from the storyline, FCPX will only show a freeze frame (this seems to be a random and “sparce” occurance) making it necessary to supply the drop zone media from the Event Browser (where a copy of the compound clip is stored). If you can and do take the media from the storyline, you can safely delete the compound clip from the storyline after applying it to the drop zone (only if it is not being used for any other part of your video project.)
Options
Below the drop zone are a set of checkboxes. Show Flagpole can be used to toggle its appearance on or off. The default is on. Reverse simply turns the flag in the opposite direction. Add Wrinkle is a bit of a hack. It attempts to “roughen” the appearance… it’s best used when scaling the flag to smaller sizes. It will also probably look better with cloth textured flag images.
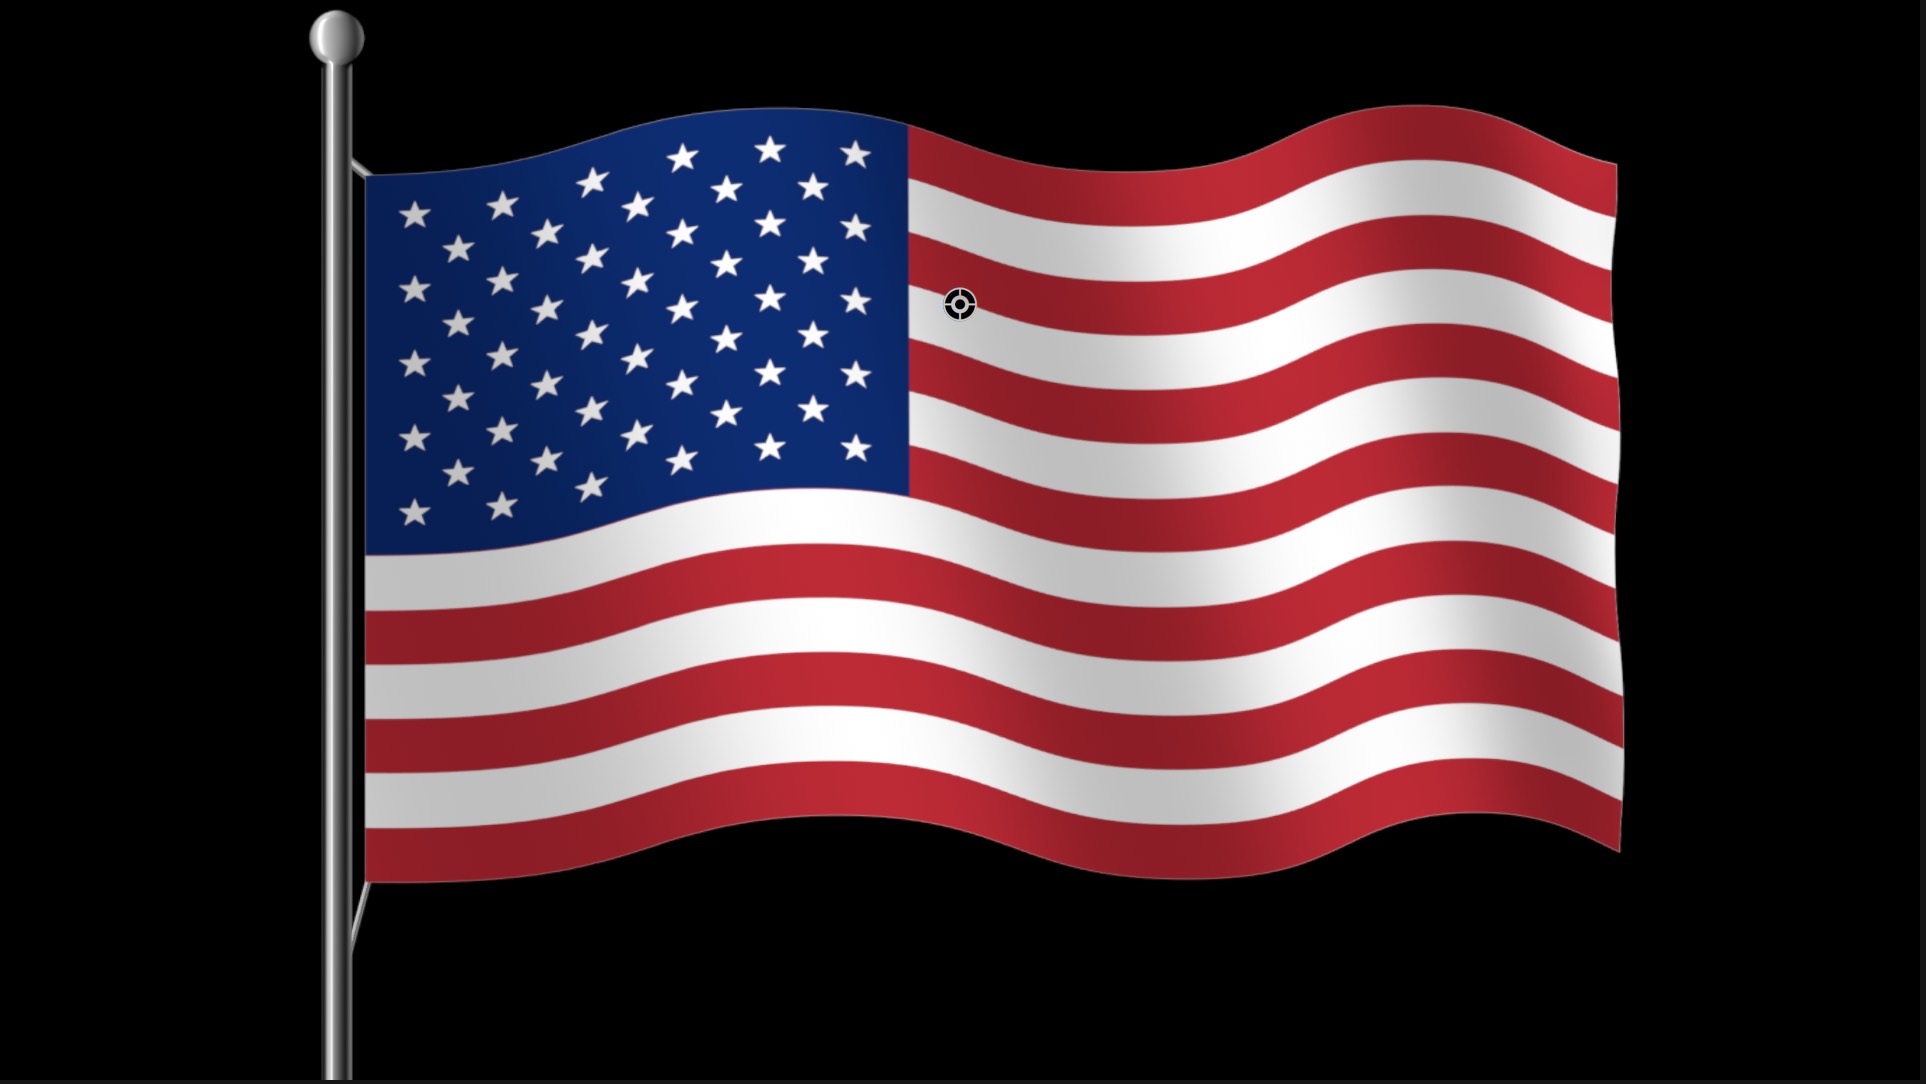
Notice the OnScreen Control (small black target icon). This will help you drag the flag around your scene for placement. Its parameters are available as Control Pt Center in case you need to keyframe the flag’s position. This effect is not really designed for effective position keyframing — it’s best used for placement in a relatively still scene.
Below is the appearance of Waving Flag on first drop:
The Scale parameter can be used to resize the flag. However, as you do resize the flag, its relationship to the onscreen control (OSC) will change as there will be a shift in the viewpoint, or parallax. If attempting to keyframe position with scaling, things will begin to get a little more complicated. This doesn’t mean it cannot be accomplished, just expect to have to deal with two things at one time.
The Angle of the flag has a range of -36º (a kind of “draped down” look) to +20º (as if you were looking up at the flag, overhead). Its default is 0º as shown in the above image.
Animation
Animation is automatic for this generator, but can be greatly enhanced by keyframing parameters!
The rest of the parameters deal with the animation of the flag. The flag’s animation is accomplished by manipulating a distortion filter (with a depth map) in several additive ways with the exception of the “furl” which is handled separately. Knowing the details does not help using this effect, so the distortion will be referred to as ripples or waves, amplitude or height and frequency or speed in some cases or repetition in others.
Wind Speed: determines how fast the waves or ripples through the flag occur. Although there is a setting of zero (o), the flag is never 100% still. It moves in extremely slow motion. The maximum wind speed is 100 which is more of a percentage value than an indication of true wind speed (i.e., it does not mean 100mph!) Let’s just say: it provides a very healthy “pulse”.
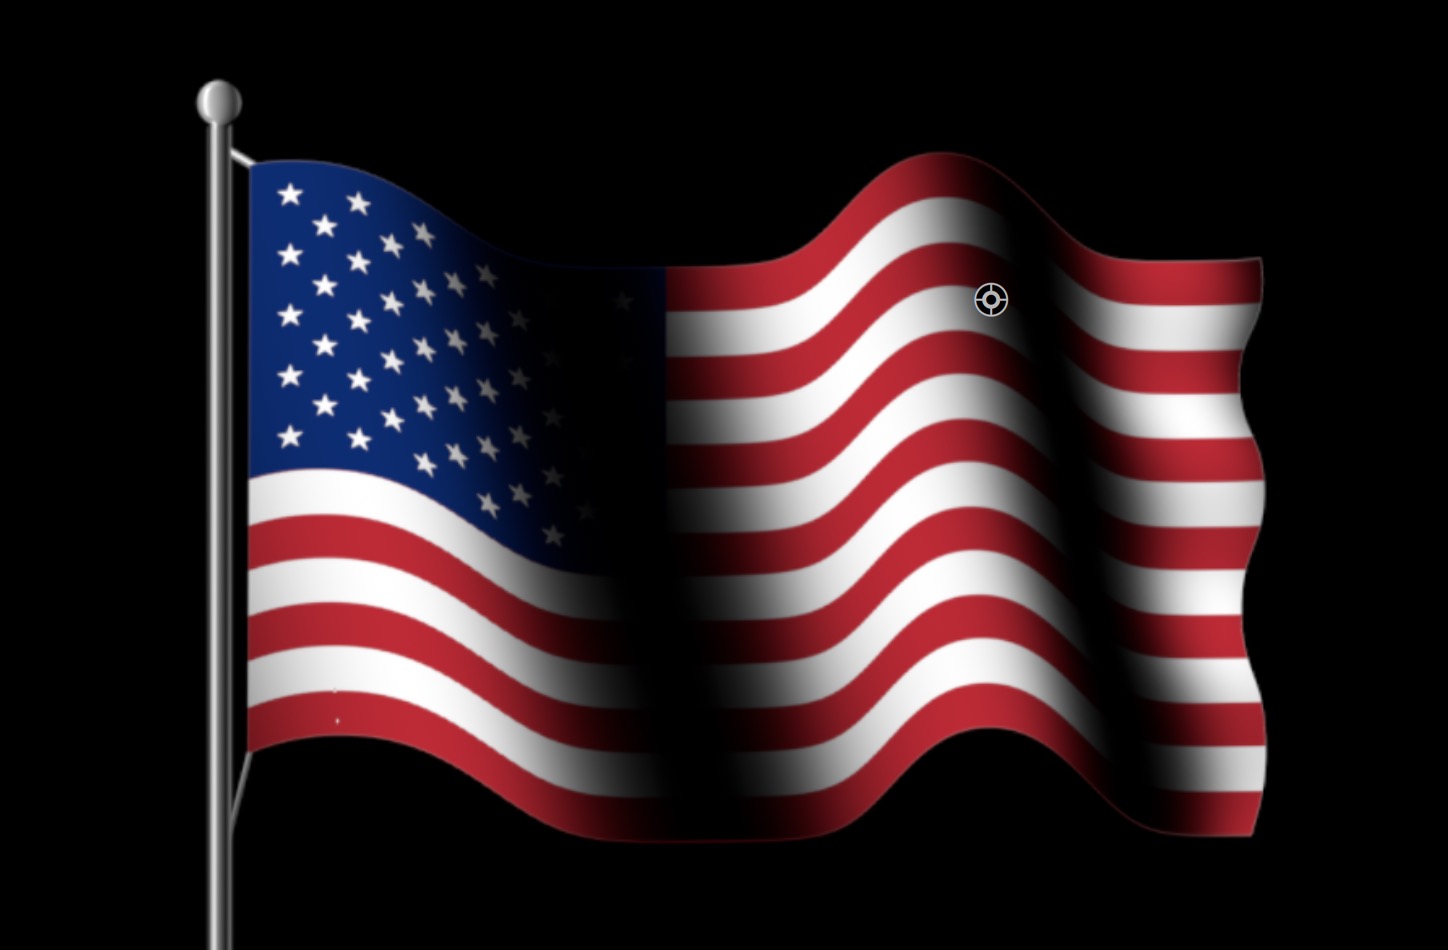
Wave Depth: determines the distance from the parts moving toward the back and the parts moving toward the front of the flag. If you set this parameter to zero (o), the flag is flat and the “wind speed” is imperceptible, no matter what its parameter setting is! If you need a flat, still flag, set Wave Depth to 0. At the opposite end of the spectrum: setting the Wave Depth to 100 (again, more of a percent value) will create more intense shadowing almost blacking out portions of the flag image:
The default value of Wave Depth is 25. Staying within the range of 25-75 will generally work best.
Flag Ripple. This parameter determines how many “waves” appear in the flag. Set to 0, the flag only “cycles” one complete wave — that is — from a starting point to maximum “height”, down to maximum “depth” and returning to its starting value. The maximum value of Flag Ripple is 4 which provides for 4 complete wave cycles. More “flap” in the flag, if you will.
The Furl
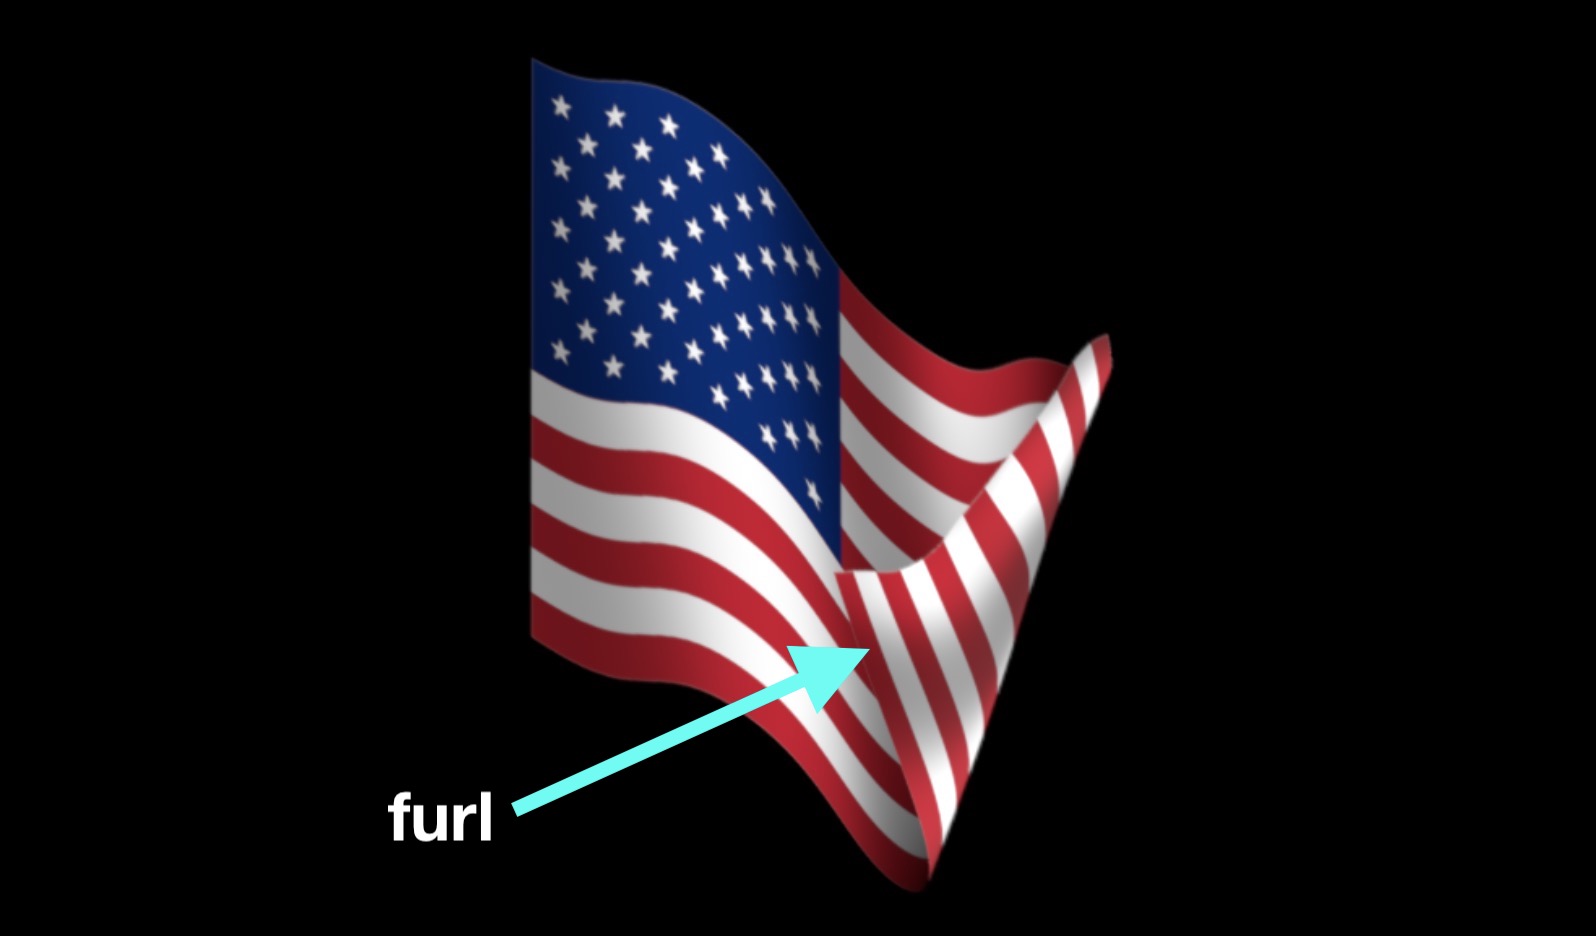
The “Furl” is an extra added animation. Every so often, the end of the flag curls back on itself (as it does in real life quite often). Setting the Furl Speed to 0 results in no furling. Anything else will create this furling animation. Furl Speed is like two parameters in one: the higher the value, the more often furling occurs as well as how fast the animation takes place. In setting up you flag animation, you may find it helpful to try and match this with the Wind Speed for a more natural look.
Furl Variance: There are several aspects of the furling that are kind of lumped together. There’s how much the flag curls; how far back up it furls; and how fast the furling occurs. The Variance adds some randomness to all of these (albeit, a determinable randomness depending on the setting!) Setting the Furl Variance to 0 results in exactly the same furling every time. Setting the Variance to 100… well… it may not be to your liking but will be interesting from time to time.
Furl Boost adds a little magnification to the effect of furling.
All of the parameters from Control Pt Center down are keyframable, that is, you can have their values change over time. This is a power aspect that allows you to customize how the animation will appear. For instance, you can animate the Wind Speed with the Angle and also vary the Wave Depth to give a more realistic, lifelike effect to the animation. The same can be done with furling, especially animating the Variance over time to create completely different furls each time one occurs. Their appearances will be somewhat regular depending on the Furl Speed setting. Animating Boost can also help change the furling even while the furling is occurring.
All that’s left is: practice! This effect is set up for basic animation on first drop and all you have to do is make changes here and there to produce a pleasant effect. How far you want to take it is completely up to you!