SC Overlay User Guide
A reinterpretation of the standard Bumper/Opener Boxes > Overlay Title.
Installing SC Overlay
SC Overlay was created to be moved into the same Theme as the original. You might not always want to use the extra features supplied in SC Overlay, but it will be available in the same location if you follow these instructions.
Starting at the “root” level of your main drive, usually called Macintosh HD:
Open Users
Open your Home folder (the currently active user account will have a small house icon)
Open the Movies folder
If you have a folder named Motion Templates, open it. Otherwise create it:
Create a new folder.
Rename it: Motion Templates (case sensitive, space necessary)
Type Command-I to open the Get Info window.
In the Name & Extension section add: .localized to the end of the name if it doesn’t already exist
Open the folder.
Find and Open the folder “Bumper/Opener” if it exists. Otherwise create it:
Use the same steps as above - case sensitive and the slash is required
Open the folder.
It is not likely that a folder named Boxes exists yet, so create it following the same instructions above
Open the folder.
Move the entire SC Overlay folder inside.
Check to make sure that SC Overlay is available in FCPX by going to the Titles inspector > Bumper/Opener category and scroll down to the Boxes section. You should find the original Overlay title as well as the SC Overlay variation. If not - check your spellings on the folders you created and the ‘.localized’ extension is properly applied.
Using SC Overlay
SC Overlay is almost exactly the same as the original. There is a menu parameter named Direction. The original did not allow this option. All animation was from the Left In except for the Arrow Shape option which was Left Top Down. Left In is now available for all shape options as well as the following:
- Left Top Down
- Center Top Down
- Right Top Down
- Right In
- Right Bottom Up
- Center Bottom Up, and
- Left Bottom Up
SC Overlay allows you to set the Amount of Blur (“Blur Motion Amt.”) applied to the motion animation from 0 to 32+ (for higher than 32 values, click and drag up on the number value to increase).
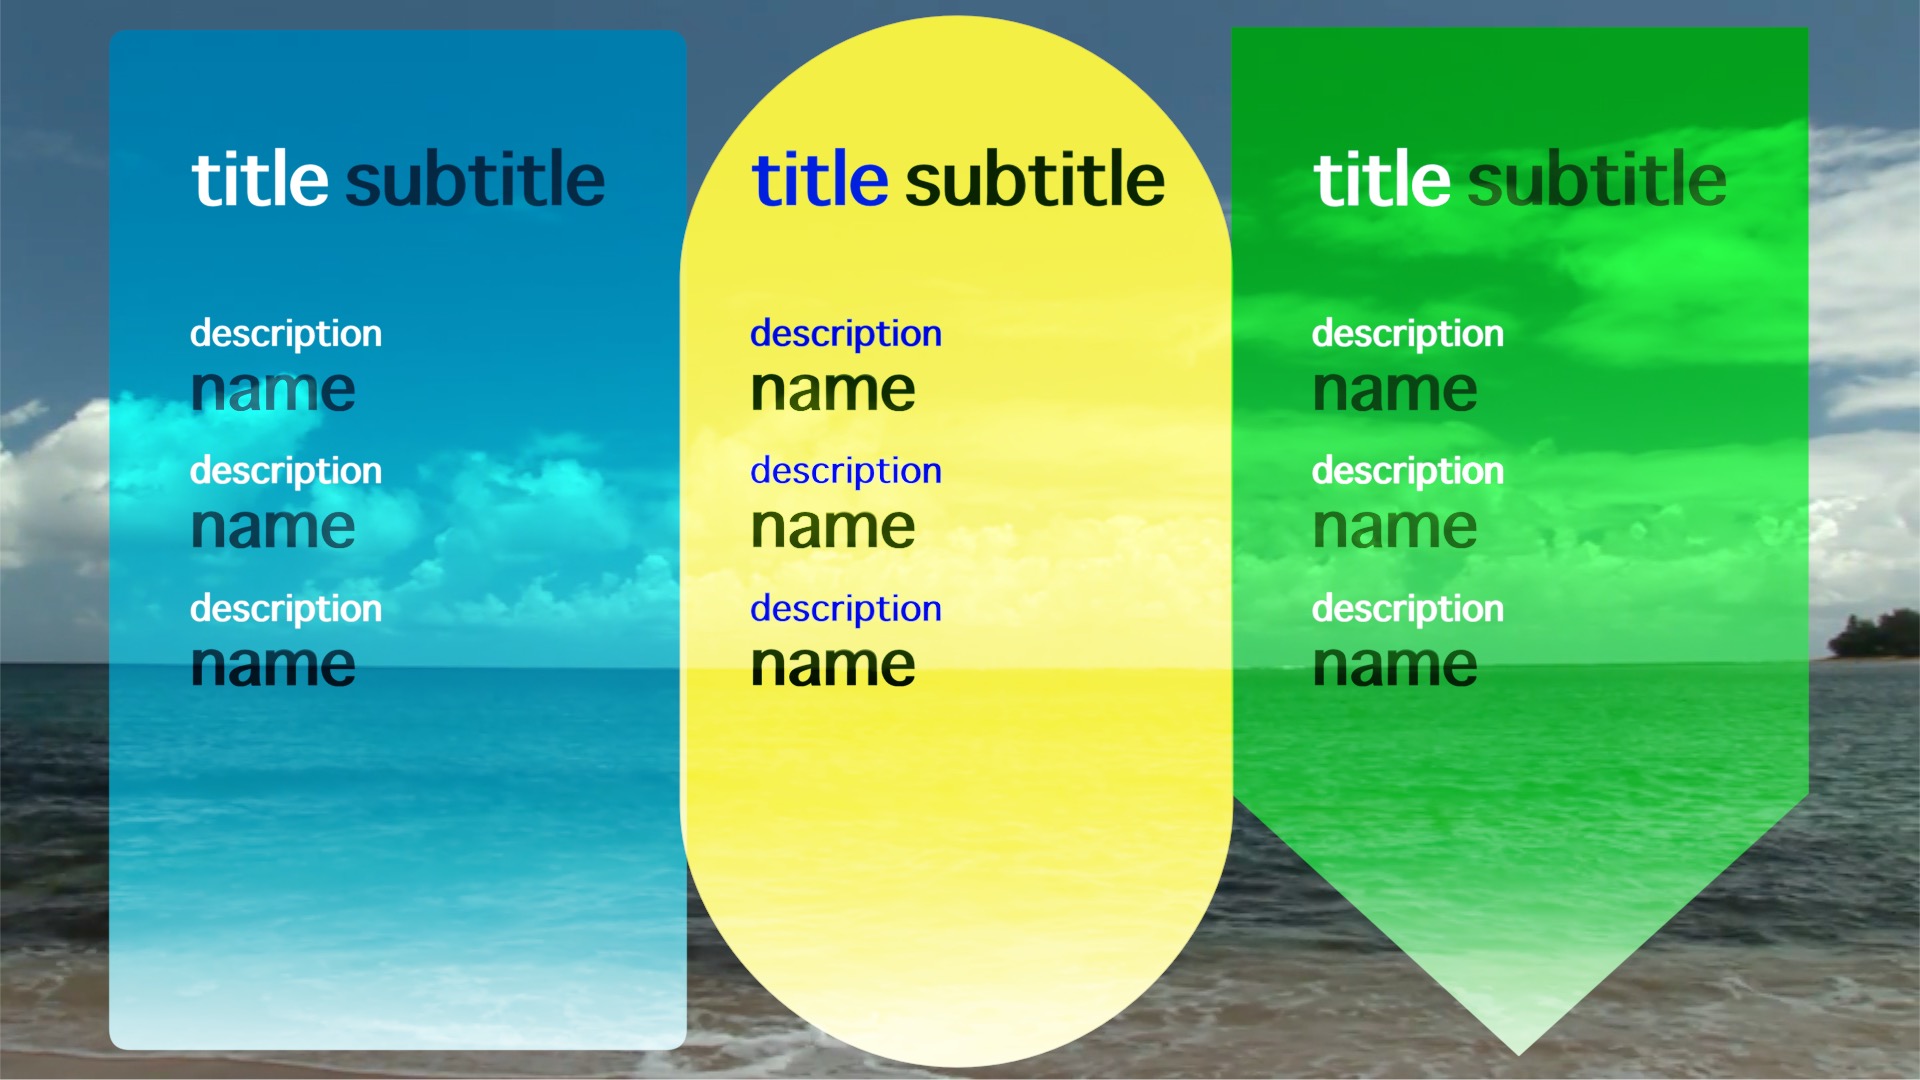
Color Theme and Shape options remain exactly the same.
Align Title has been repaired so that the value of 0 indicates the default (centered) position of the ‘title subtitle’ text section.
In SC Overlay, the description/name pairs has been modified in the following way:
These text items are formatted as “Paragraph” style text objects meaning
that they are complete TextEdit objects contain a bounding box and ruler for placing Tabs.
SC Overlay adjusts the right side of the bounding box to equal the offset of the left
edge. What this means is: you can use the Text Alignment parameters in the Title inspector
to align the text objects as Left (default), Center and Right aligned text and have the
text align properly within the background bounds.
Example:

If you need more room for text entries, modify the text bounding boxes by dragging the control squares along the edges of the bounding box to adjust the space needed.
For assistance lining up altered text spacing, I recommend Guides an Effect for lining up objects within the frame viewer in Final Cut Pro.
Thank you for your interest in Sight-Creations Templates (available on FCPXTemplates.com)